Recently I wrote about how to create a portfolio page using Prismic.io as a management tool. Now I want to show you how to create your own blog using Prismic.
Remember, Prismic.io is a headless content management software. In this online tool you manage your content, in case of a blog you manage your articles, just like you know it from WordPress. The difference is that the frontend is missing. Prismic.io provides the content only via a RESTful API. You send your request to this interface and get back a JSON document, which you have to process accordingly.
Table of Contents
Why a headless CMS?
So what are the advantages of using Headless CMS for a blog and when should you use one? On the one hand the advantage is the simplicity, on the other hand the high flexibility. So you can create different article types with different field, but only the ones you exactly need. Especially if you create the blog for someone who is not too familiar with it, so much unnecessary stuff is left out.
Especially with WordPress you have to think a lot about security, hosting and scalability. These points are taken over for you when using a service like Prismic.io, Contentful and Storyblok. Of course, you could then go to a dedicated blog hosting company, but here you have to accept the corresponding restrictions of this provider. Because we have full access via API, we can design the presentation exactly as we want it.
For example, it is possible to display the content not only on a website, but also in an app, a chat app or via a digital assistant.
The disadvantage is, of course, that we have to build all these frontends ourselves. Fortunately, this is not too difficult.
In this tutorial series I will show how to build a simple blog with Prismic.io. Most of it can surely be transferred to other vendors. As frontend I will use NuxtJS, built on top of VueJS. So you should have some previous knowledge of Javascript. The complete code is available for free via Github. To make the result look more or less the same, I use TailwindCSS, of course you can also integrate other CSS frameworks like Bootstrap.
Setup
Before writing the first line of code, you should first think about the structure of the content. If you have the structure in your head, everything will go a lot faster later. Of course you can add more functions later.
Article types
What types of articles should there be? Which fields should be available in the editor.
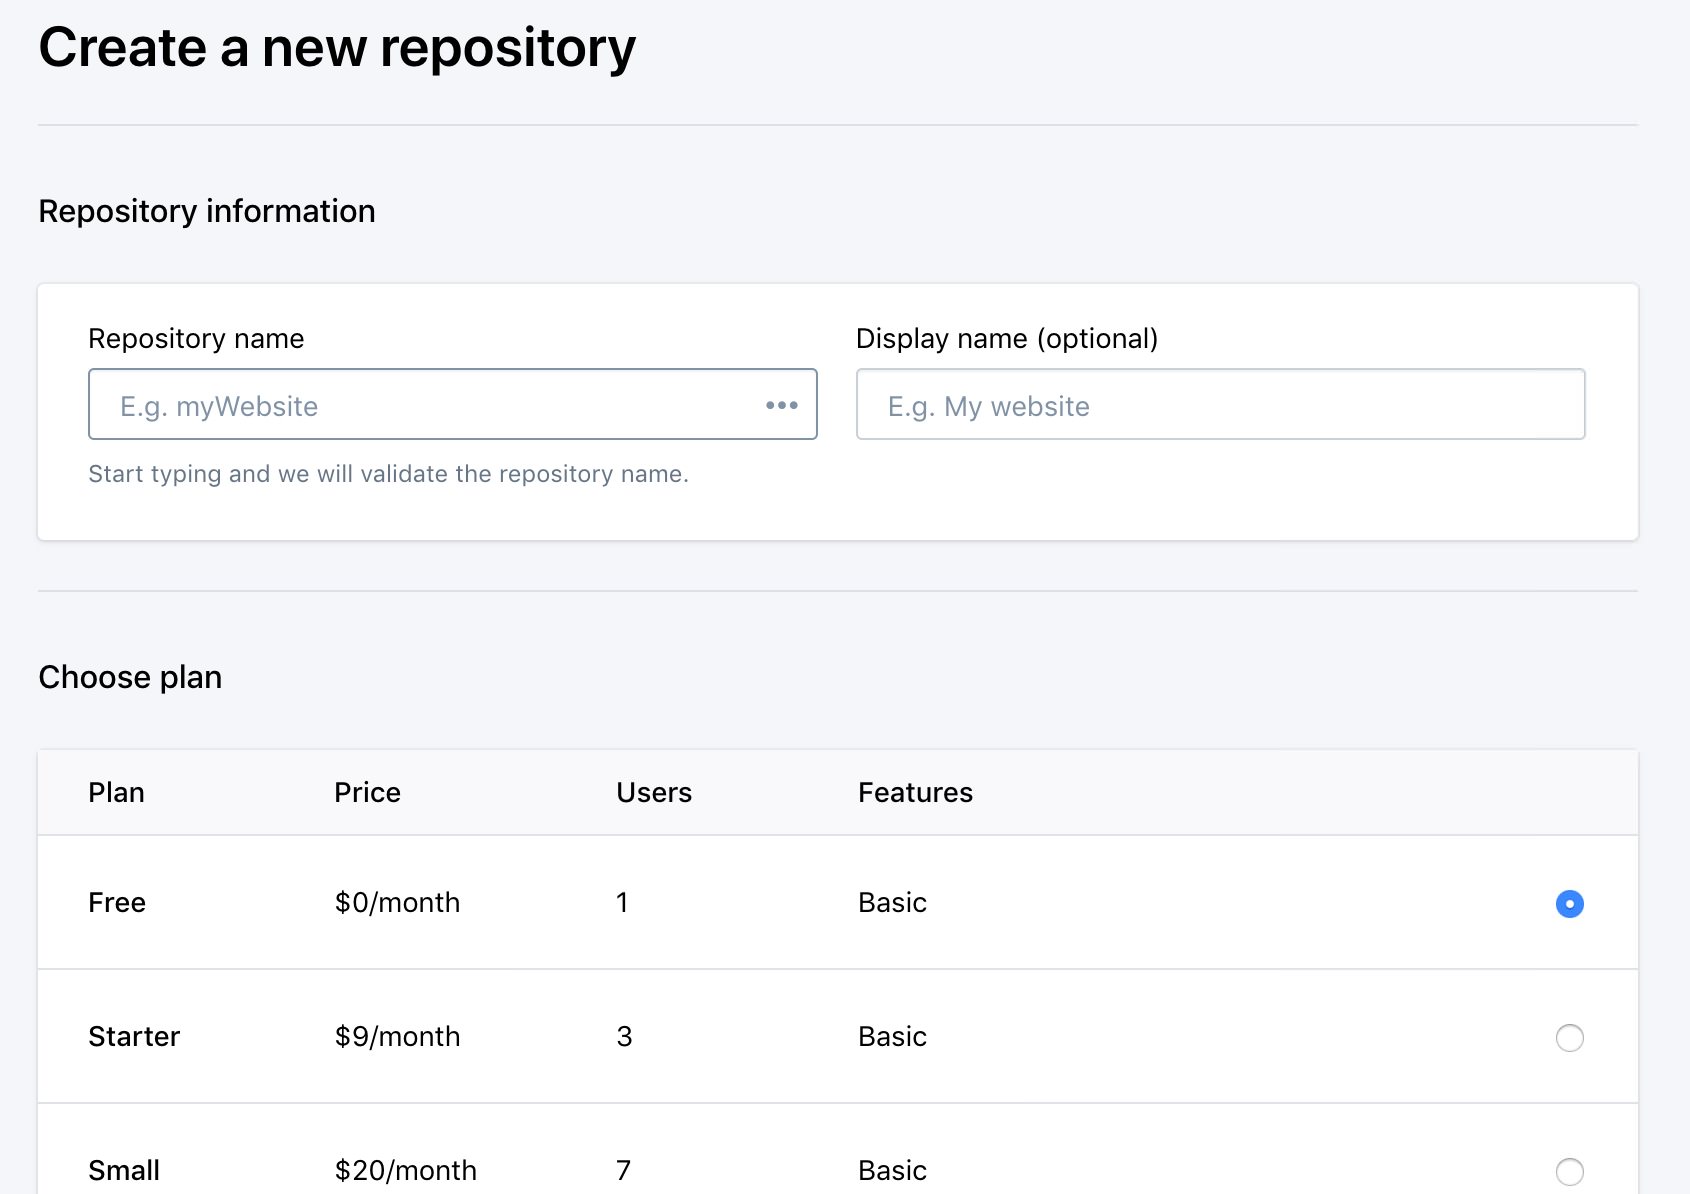
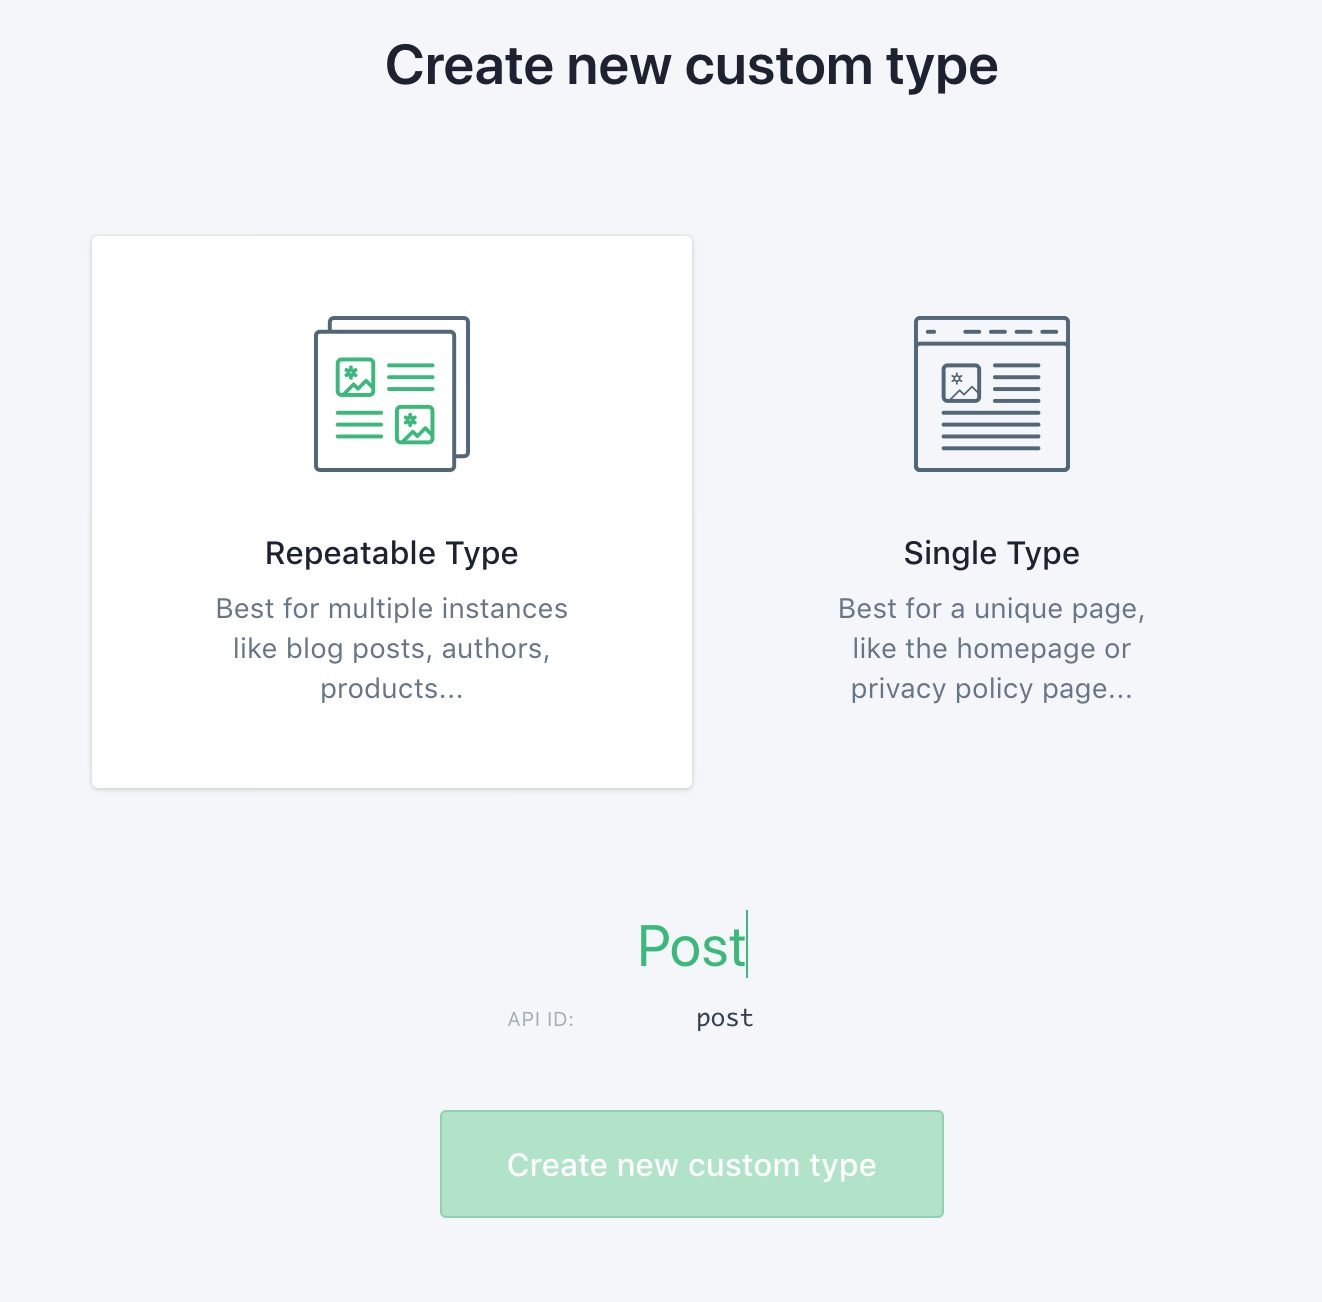
For our blog we will create a new directory and a repeatable article type called “Post” at Prismic.io.
Different types of fields will be available here, depending on what you want to create for your blog. For example, for a travel blog, we can add a geo-coordinate that we can later display as a map on our website. The fields can be unique to the article or repeated.
Content fields
For our blog we create a title field, a text field for a sneak preview text and a unique slug ID. There is also a text field for the Meta Description (description for the result on Google), a field for tags (more about this in this part) and a field for a main image.
This image is used on overview pages and for the OG tags (Twitter, Facebook, Pinterest). For this field (main_image) we also specify different image sizes. You should specify the sizes based on your design. The sizes are automatically created by Prismic.io. So you only need to upload one size. The images are also automatically optimized and delivered over a CDN (Content Delivery Network) to keep loading times as short as possible.
But where does the content of the article go? For this you can of course create a simple text field (in which you can also insert pictures and co.).
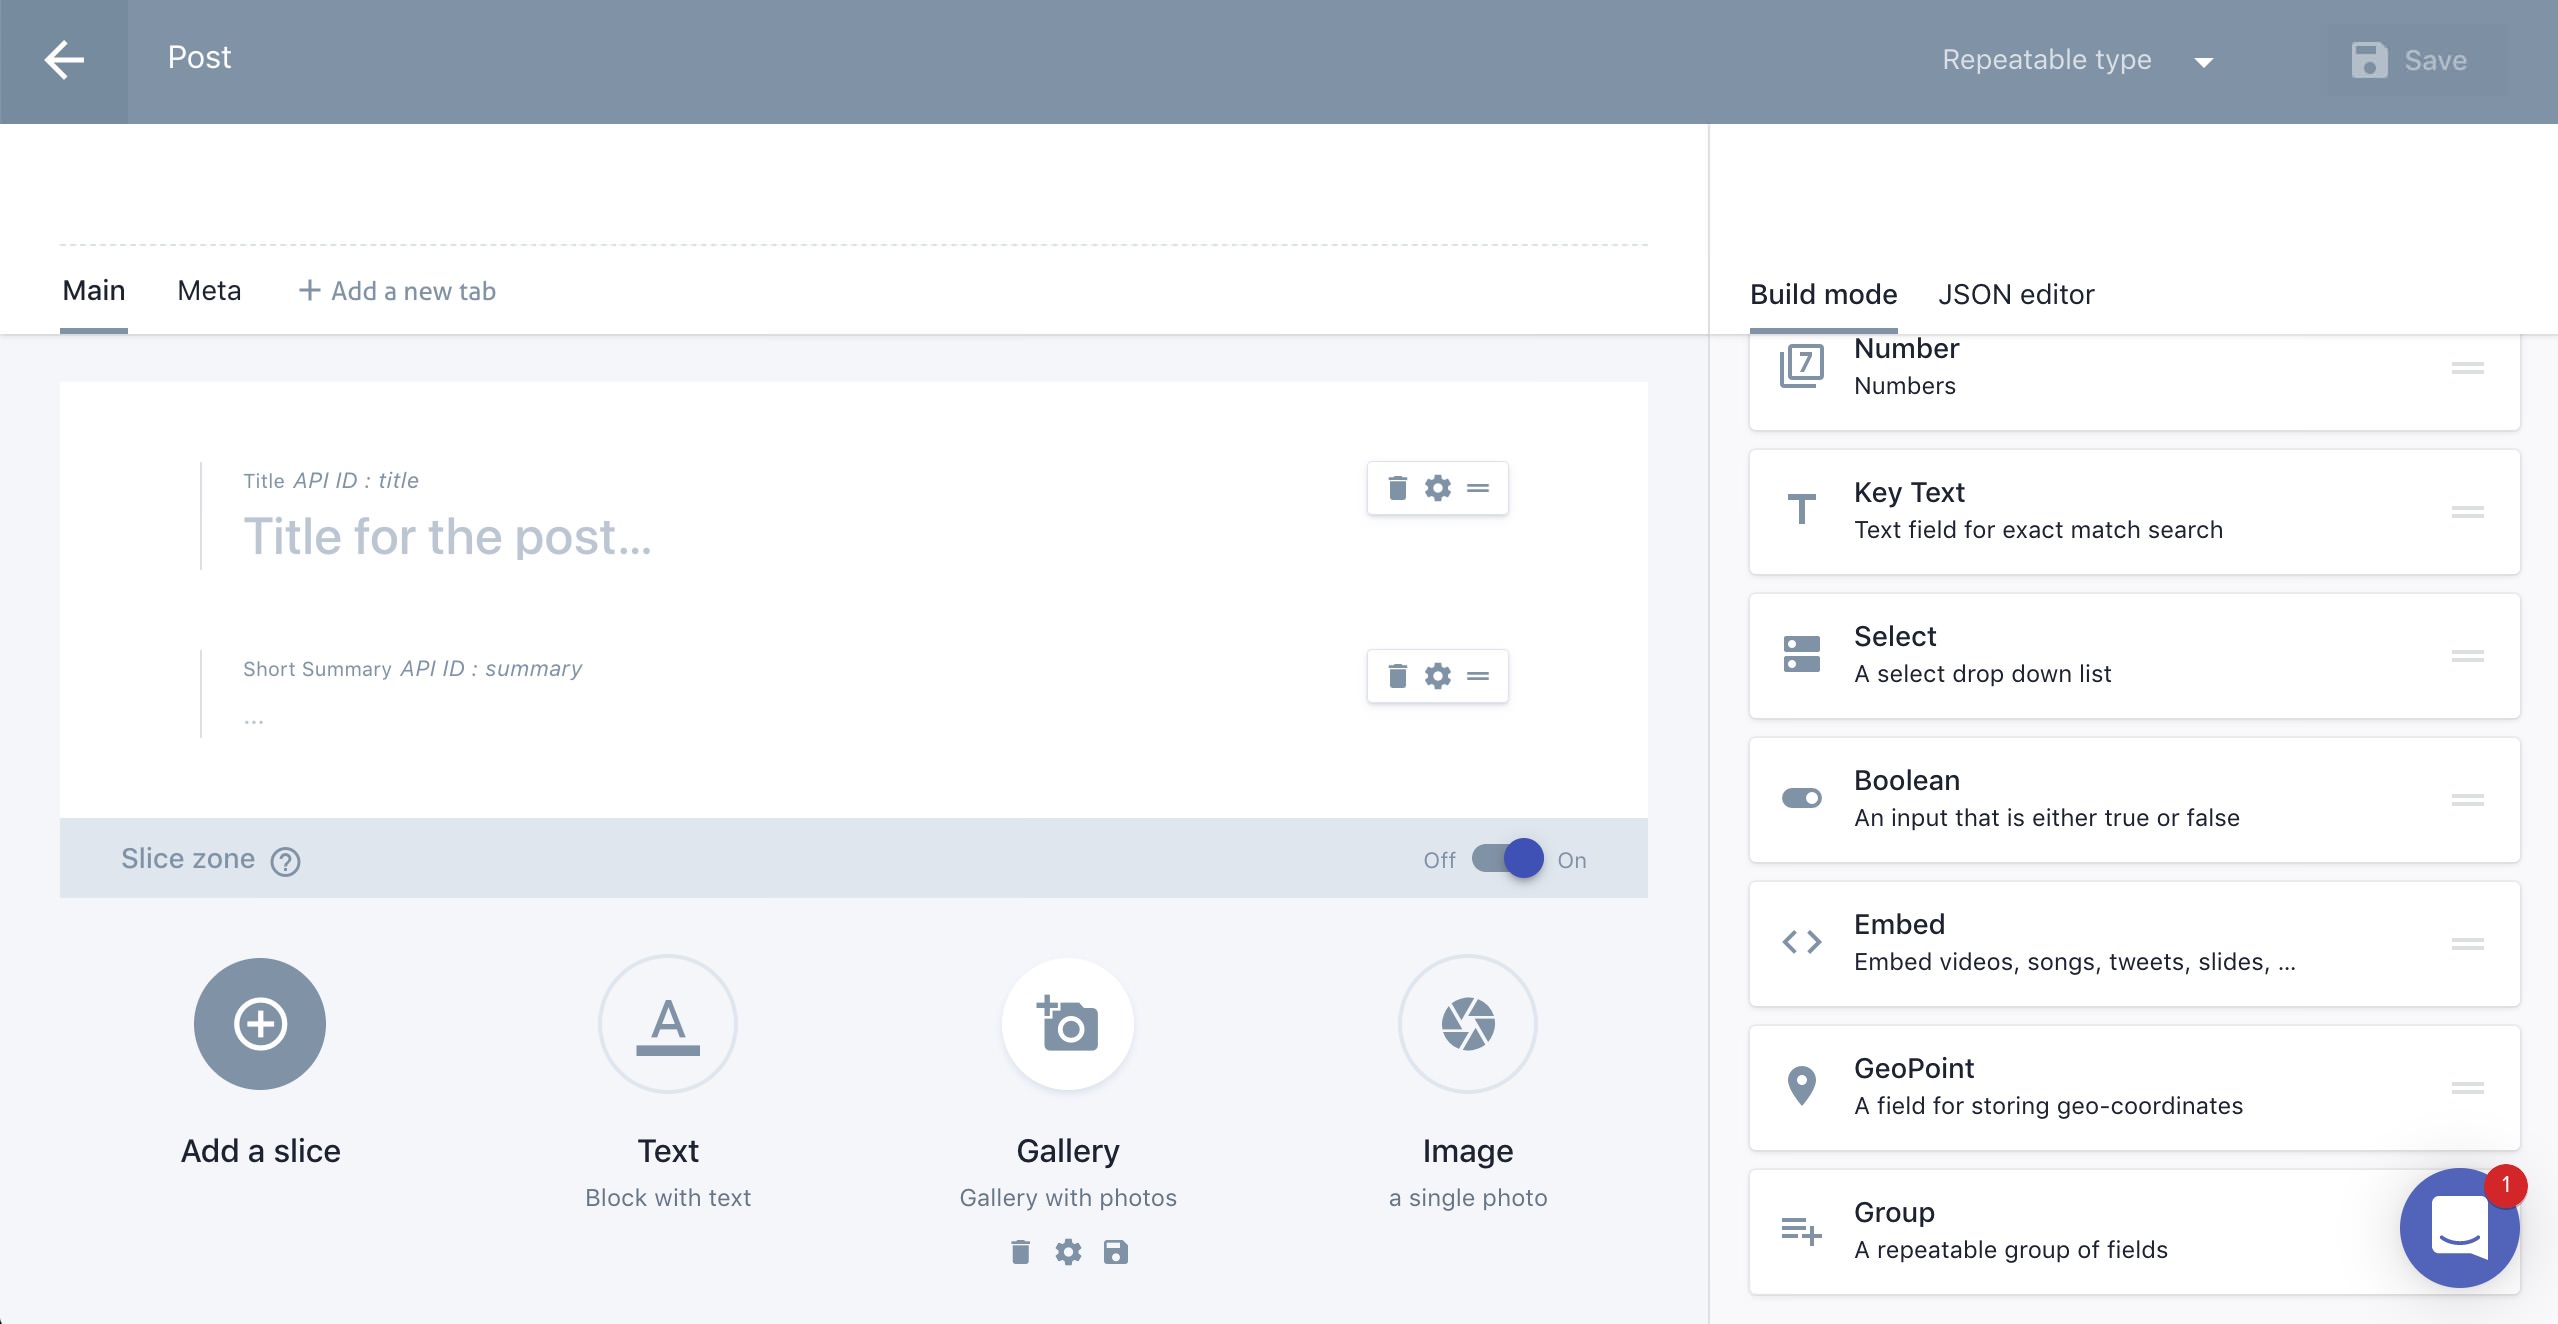
I would recommend solve this using Prismic’s Slice feature. Slices are basically a group of fields that can repeat themselves.
The advantage is better clarity and flexibility. The function is somewhat comparable to the blocks of Gutenberg or the shortcodes of WordPress. Later in the frontend we have the possibility to design each slice according to our wishes.
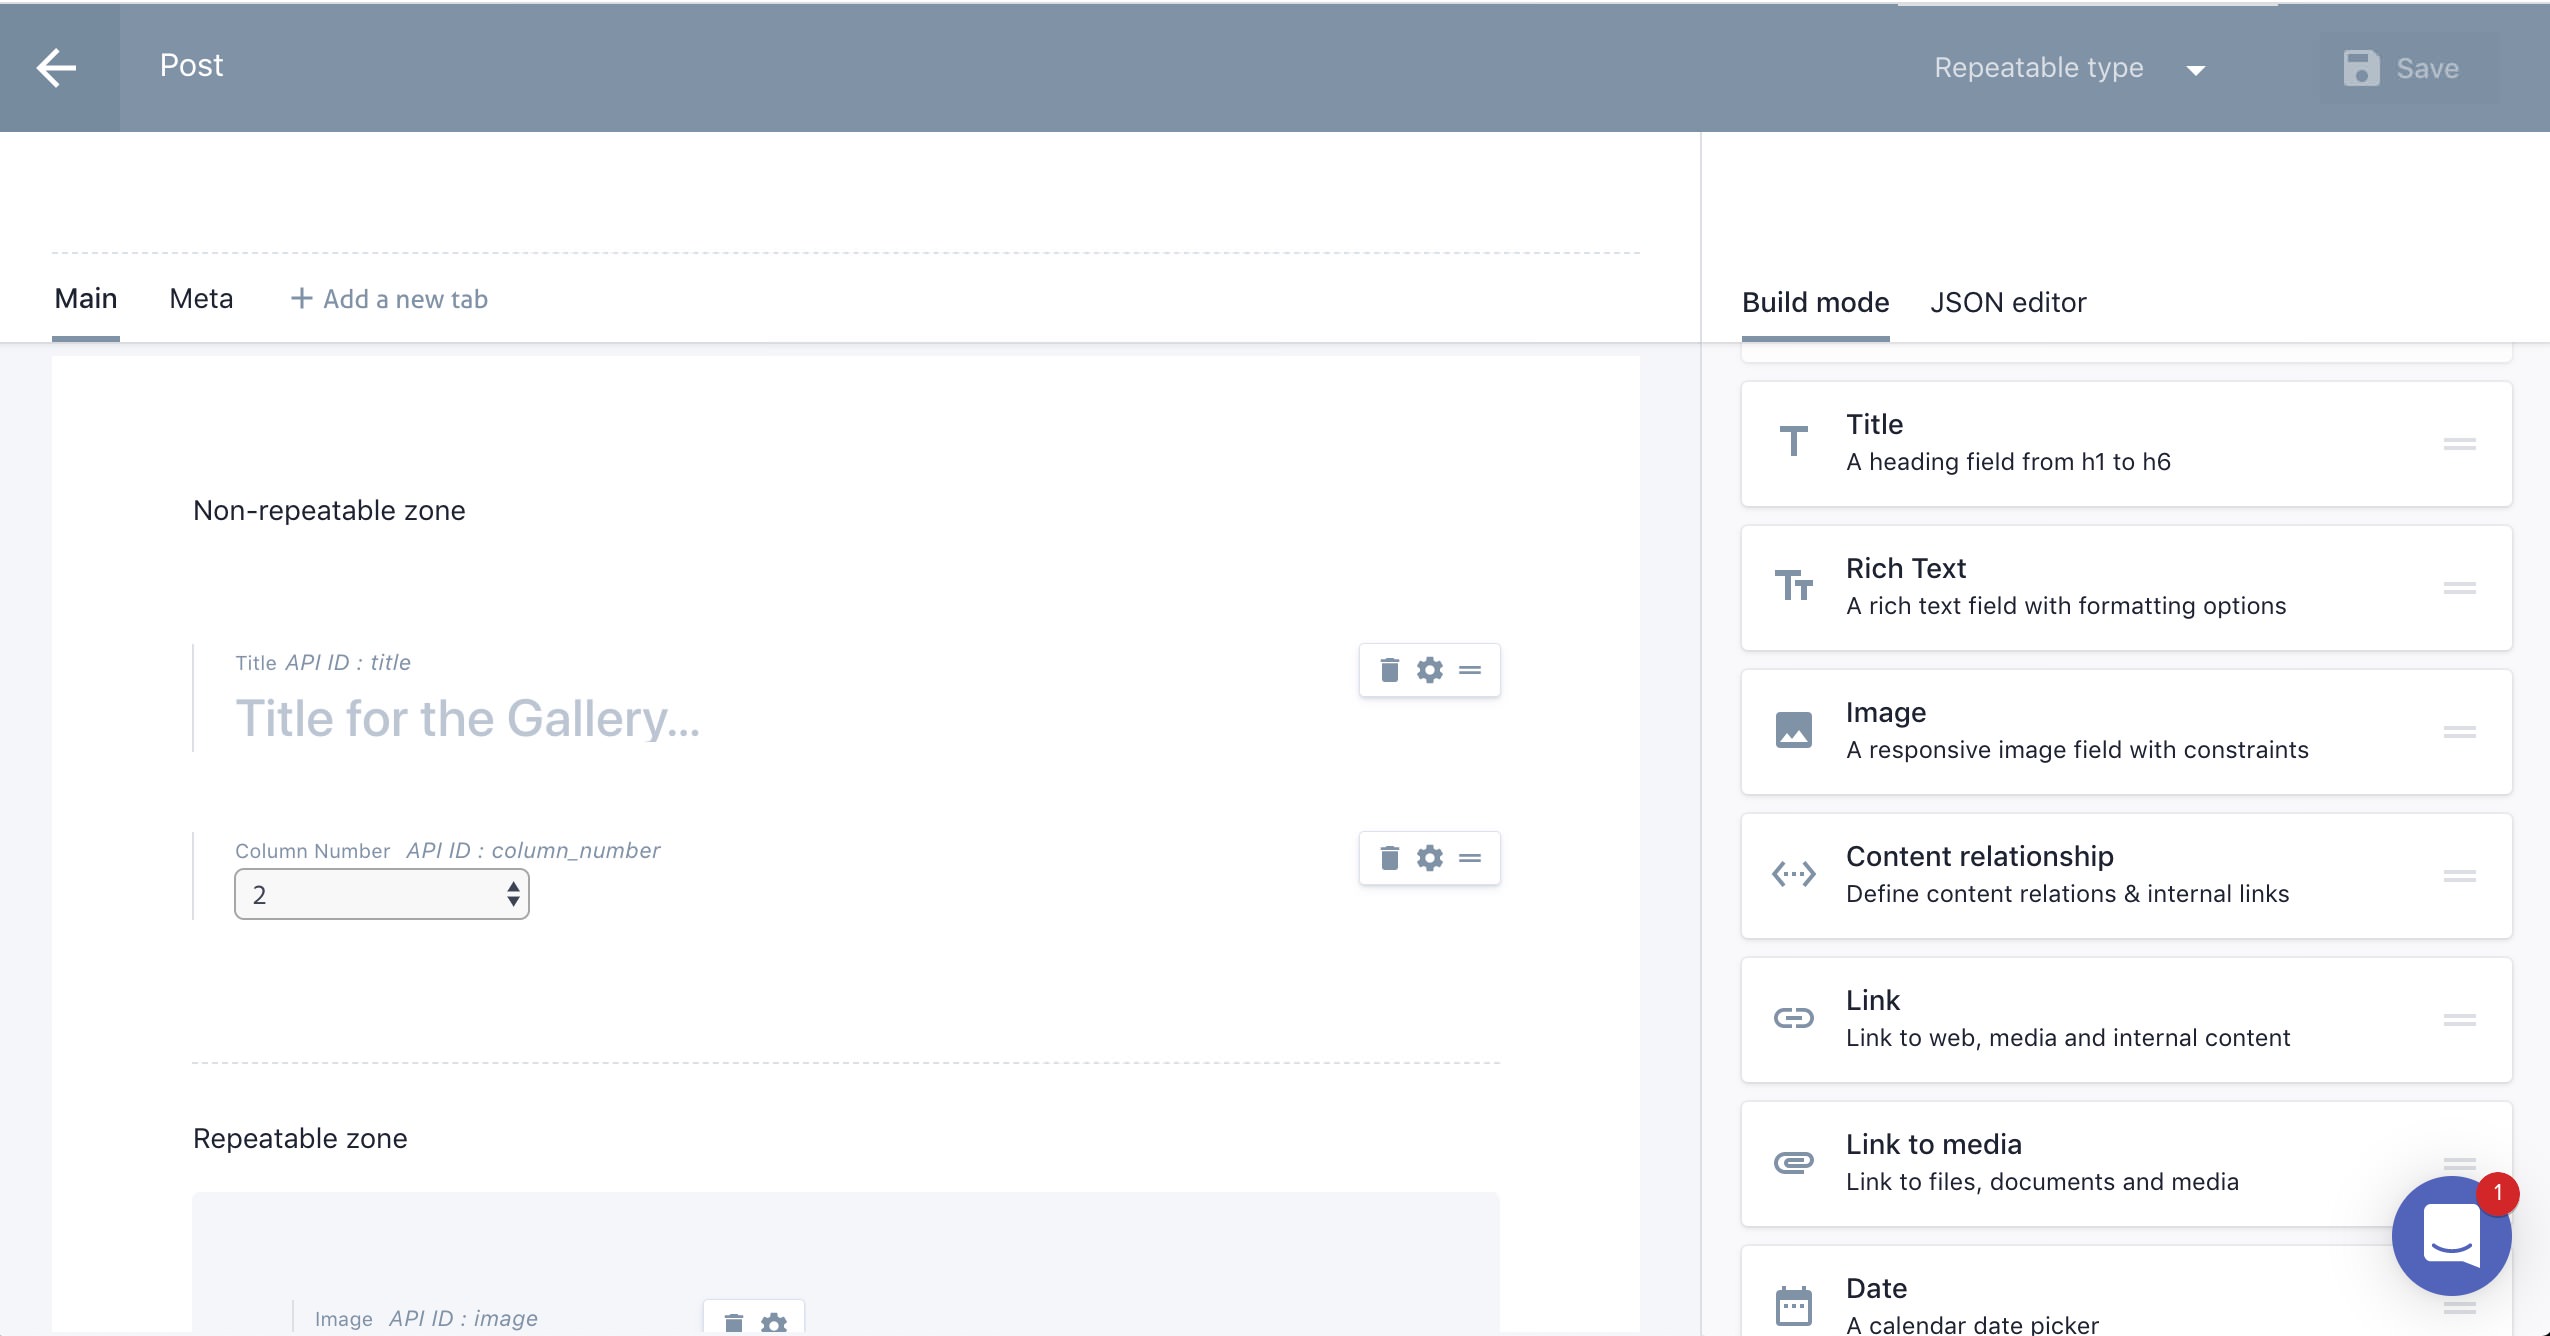
So we create a slice for text with a simple text field. The gallery gets a repeatable picture field, a selection menu for the columns and a title field. The single image slice gets beside the image field, a text field for a description and a selection menu for the positioning.
Of course you can add more slices, depending on your own requirements. Conceivable is for example a field for a video, a link, another article or also a slice for a recipe with instructions and a list of ingredients.
Now we are done with the setup for now and we can create the first articles.
Front end
Unlike with a normal CMS, the written articles are not yet visible anywhere. For this we need a frontend that accesses the API interface.
You can write this in your favorite programming language. For this tutorial I will use Javascript. More precisely the meta framework NuxtJS. Of course you can also use VueJS directly or React.
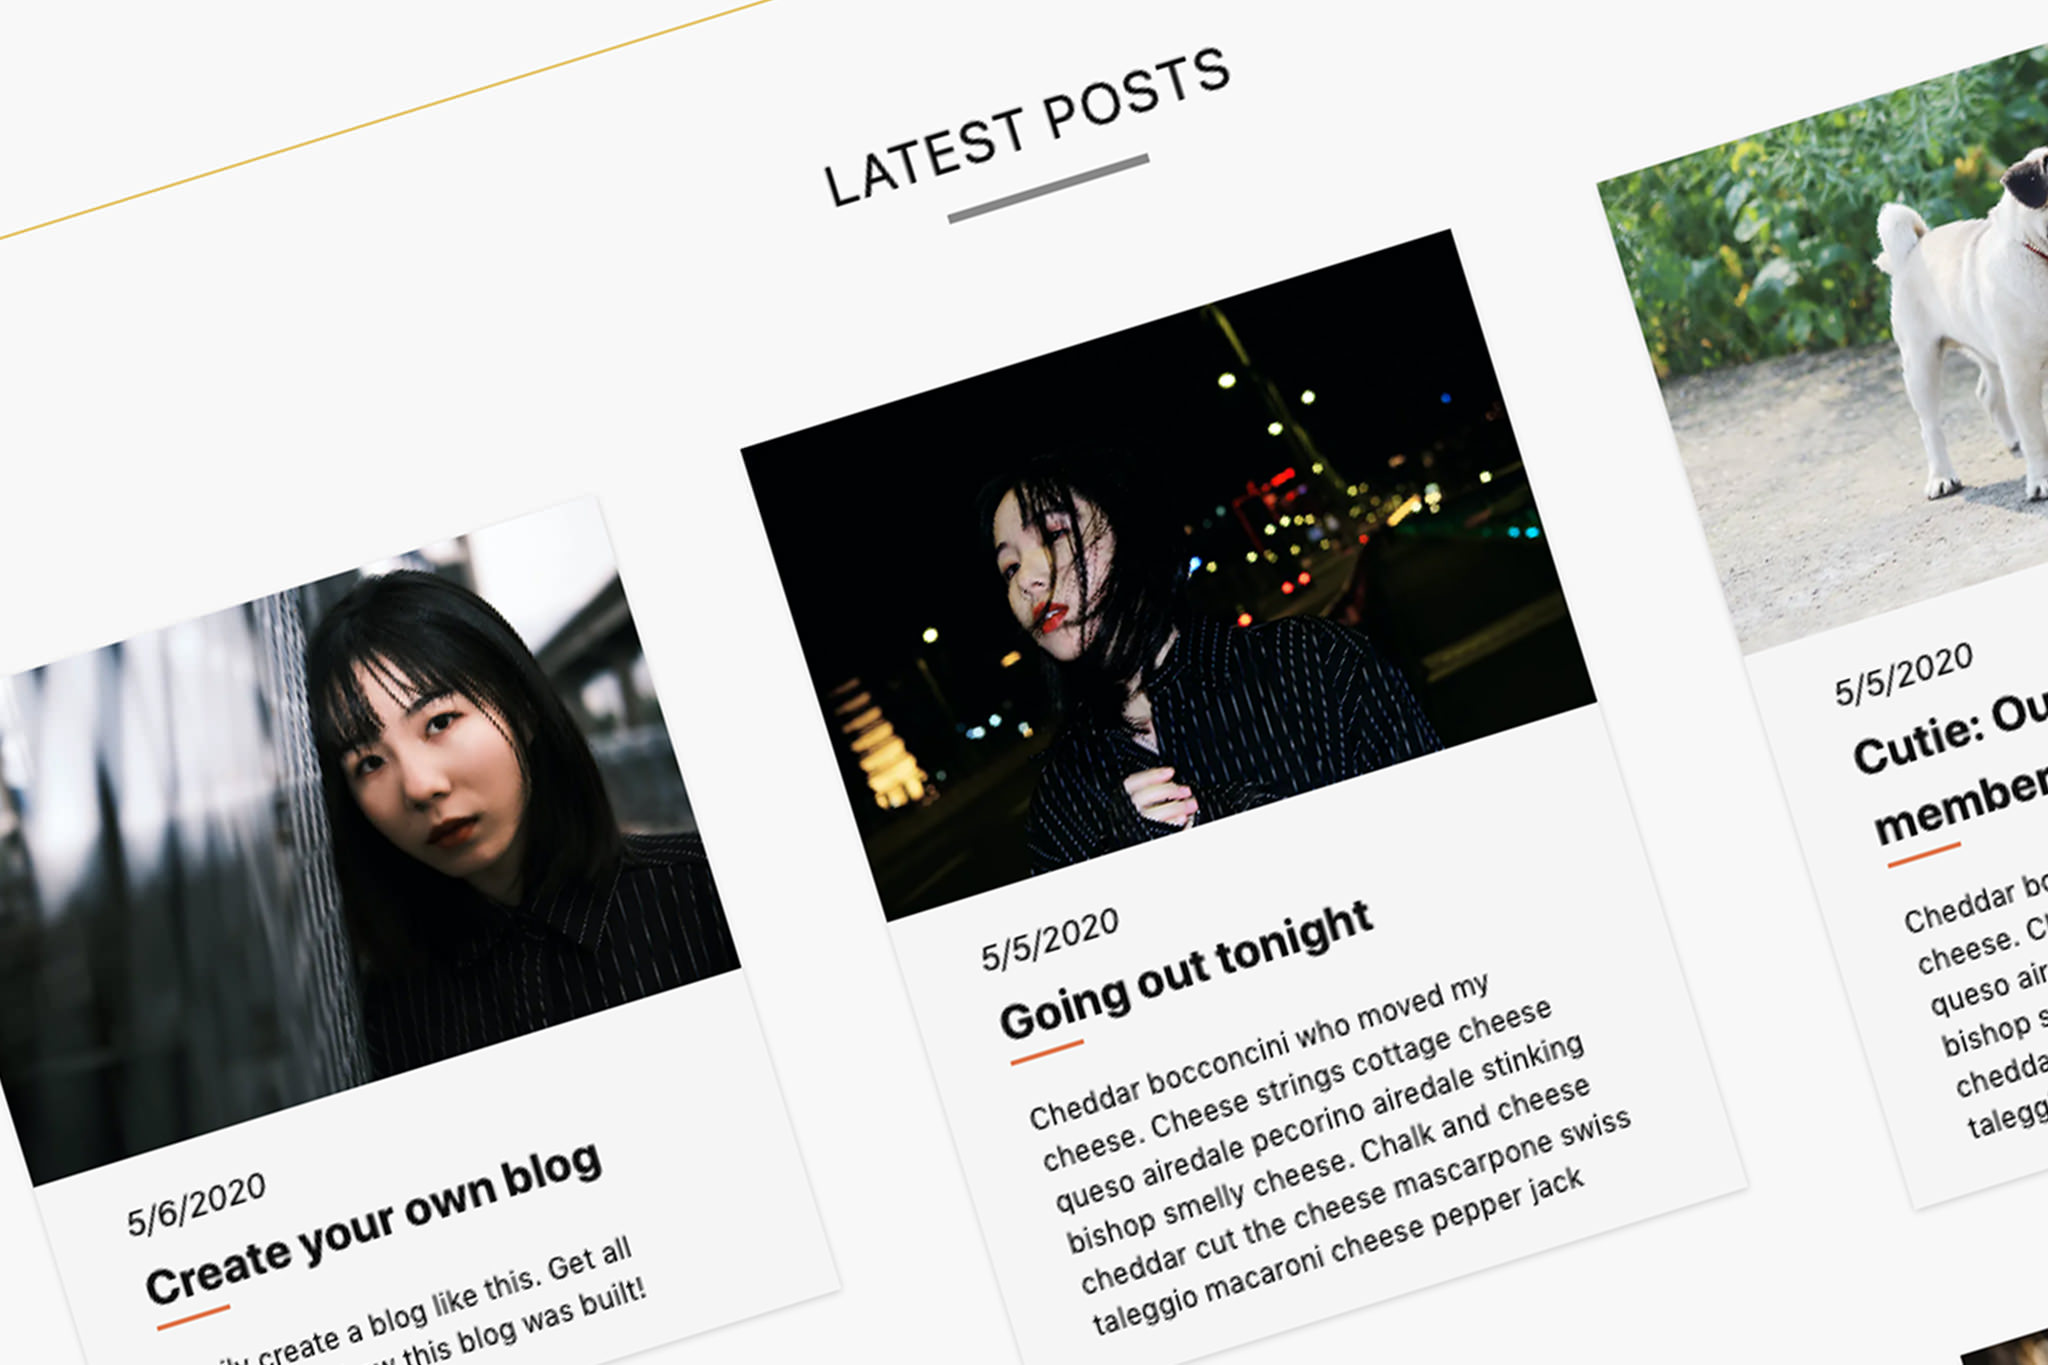
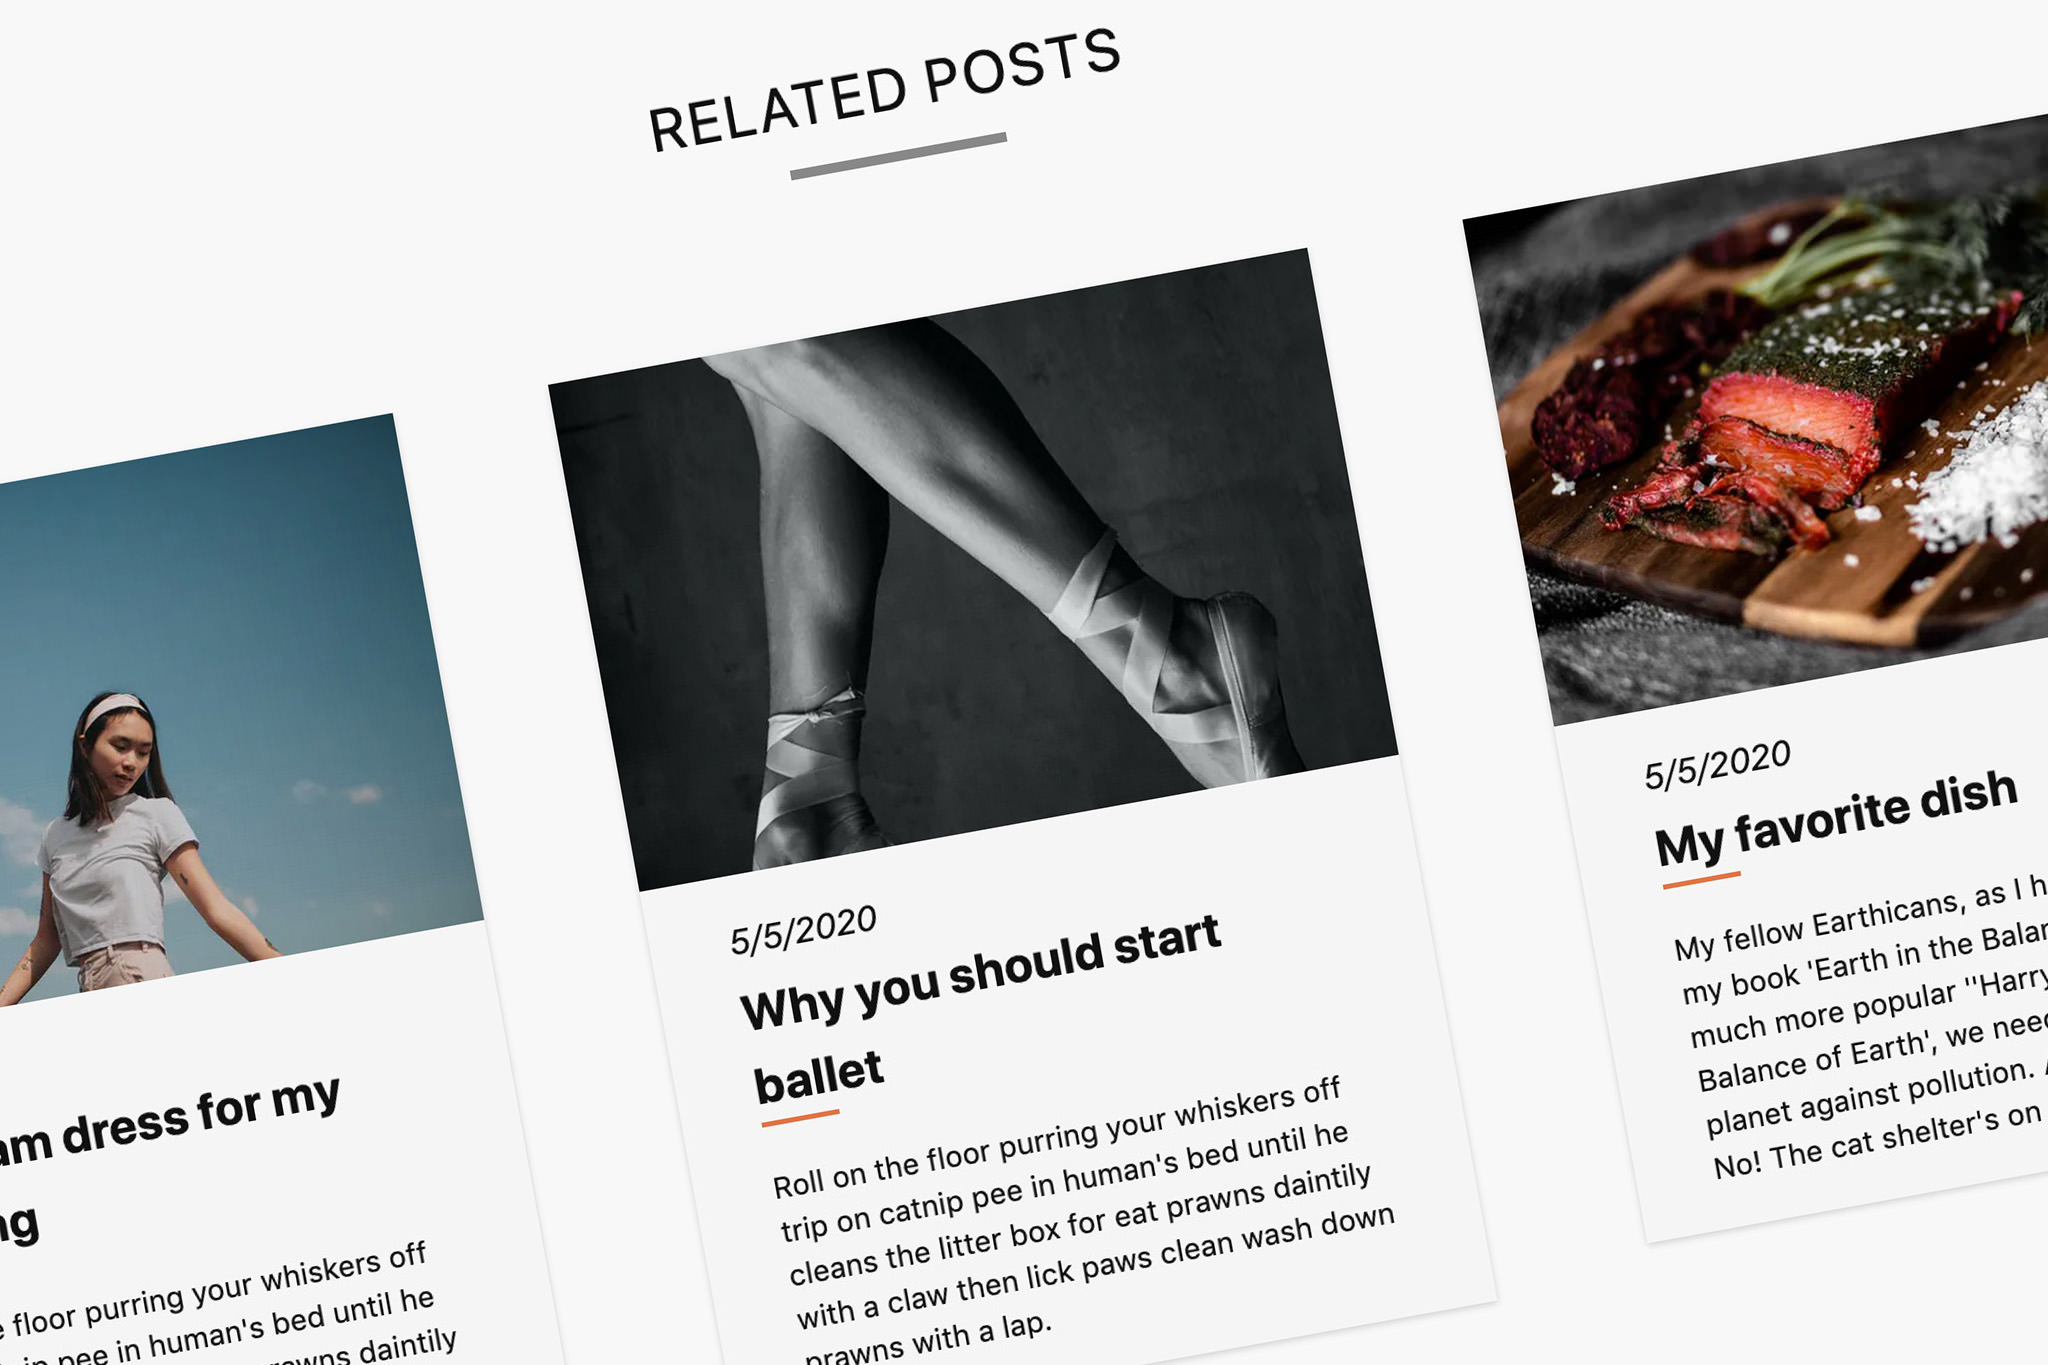
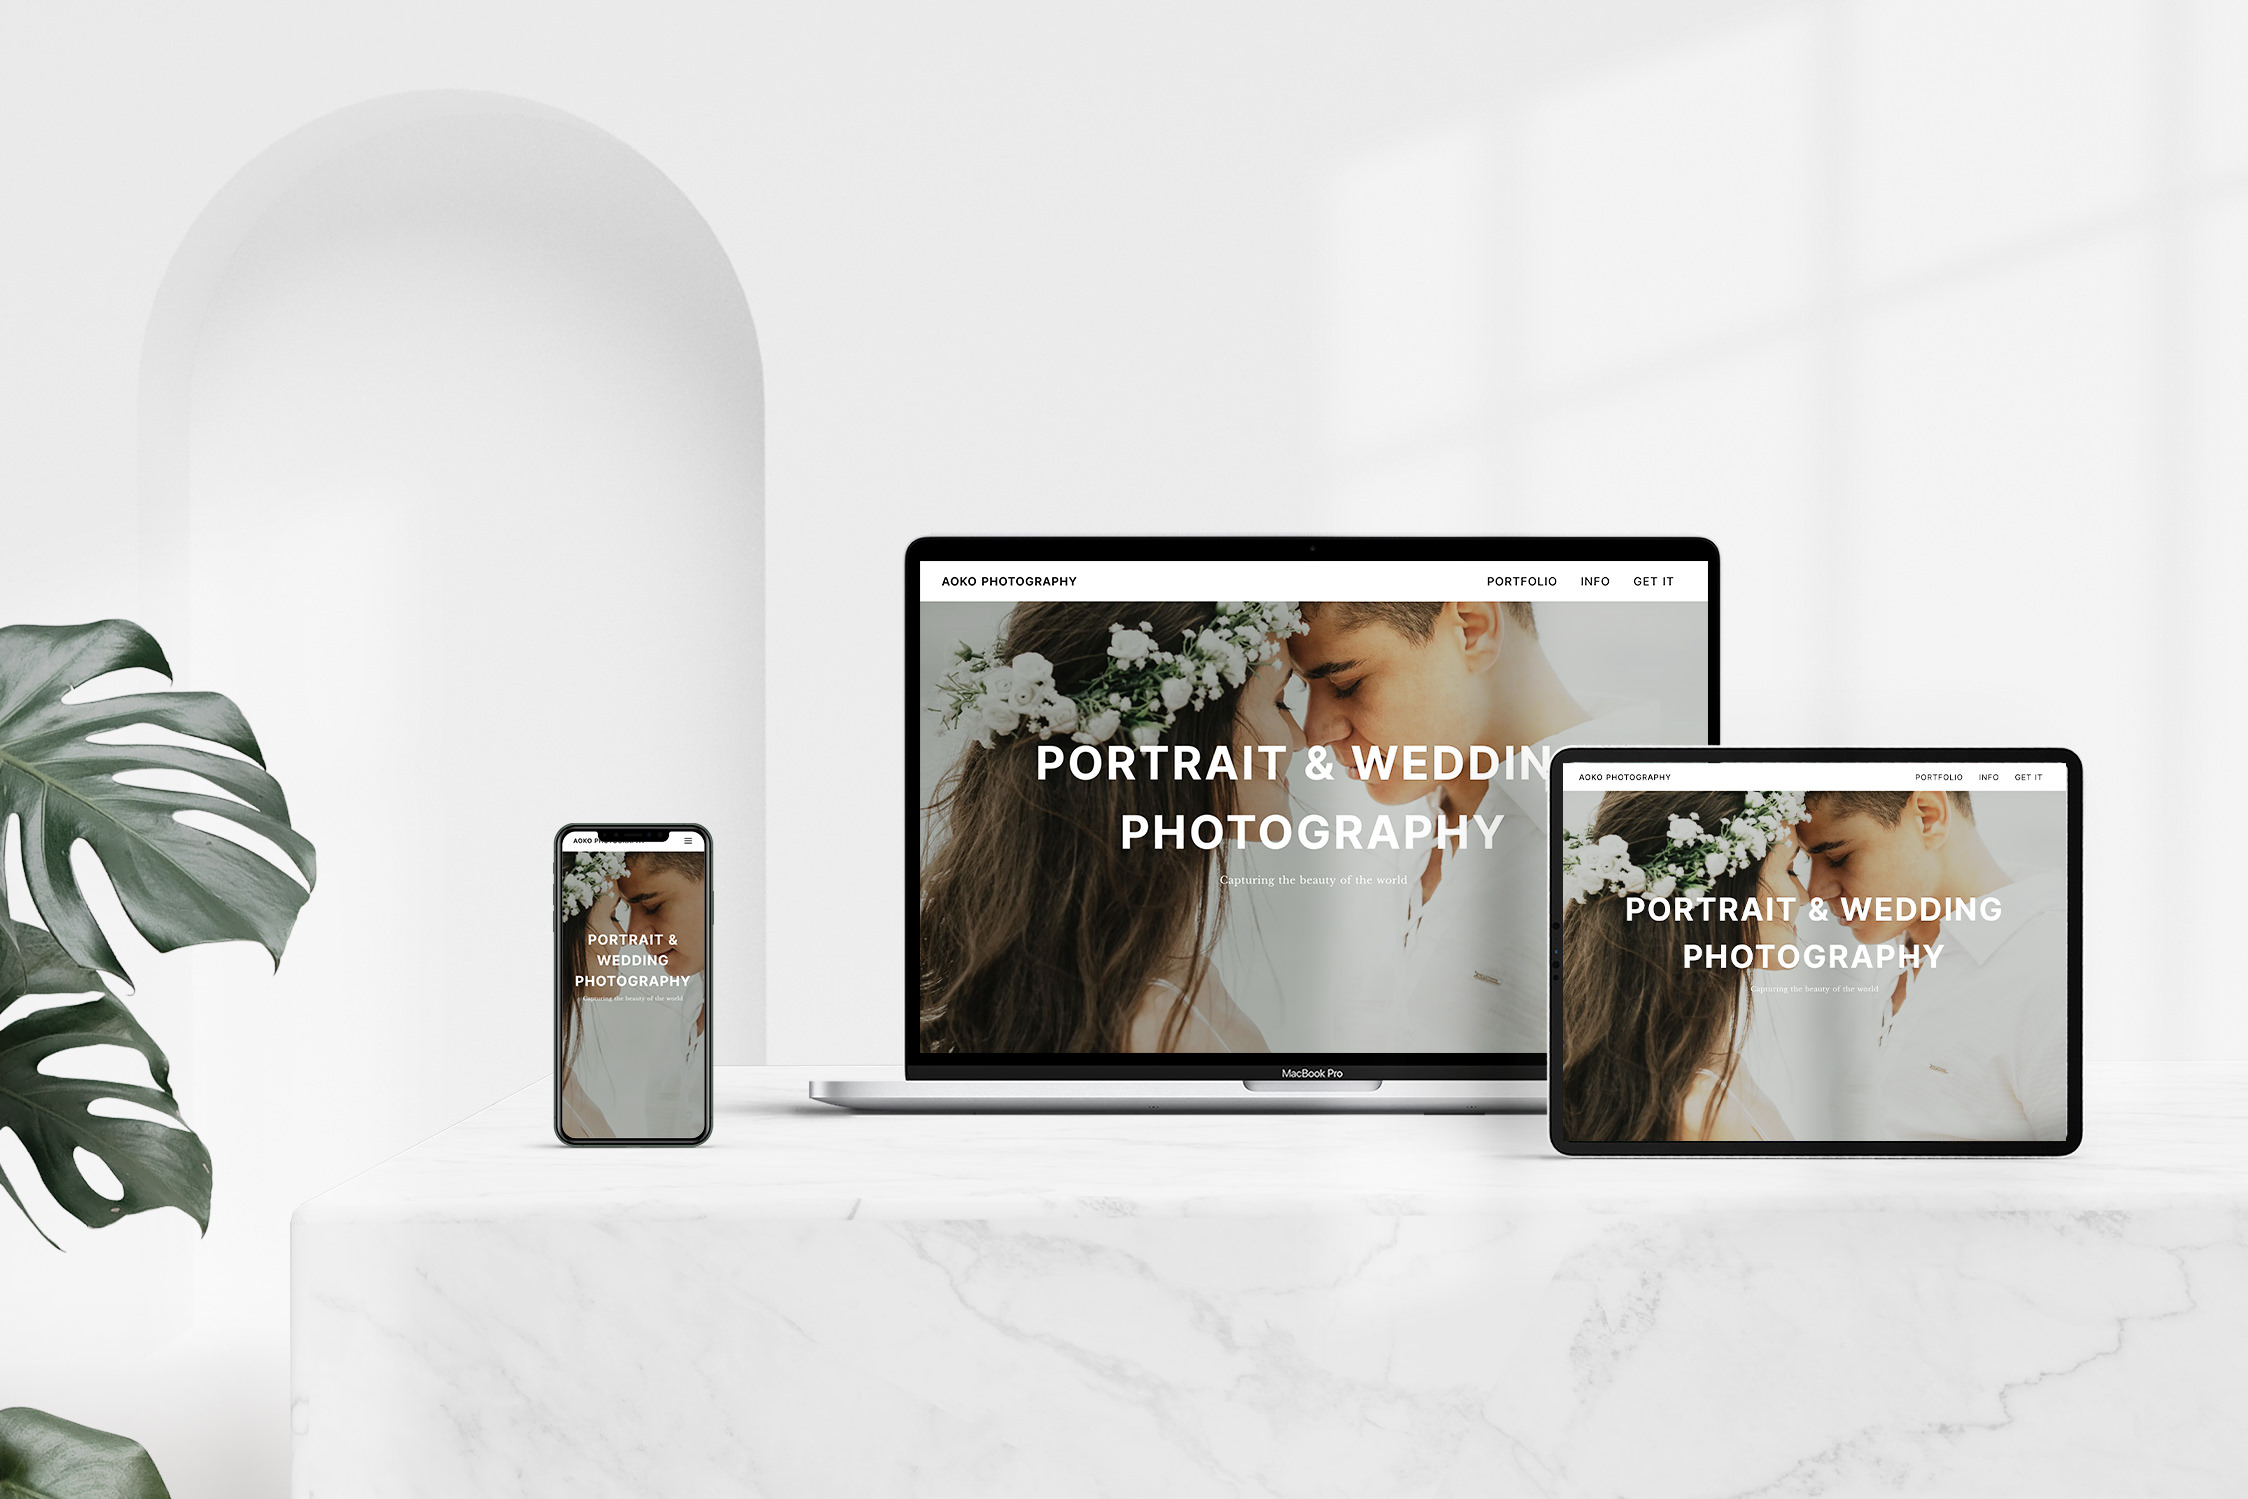
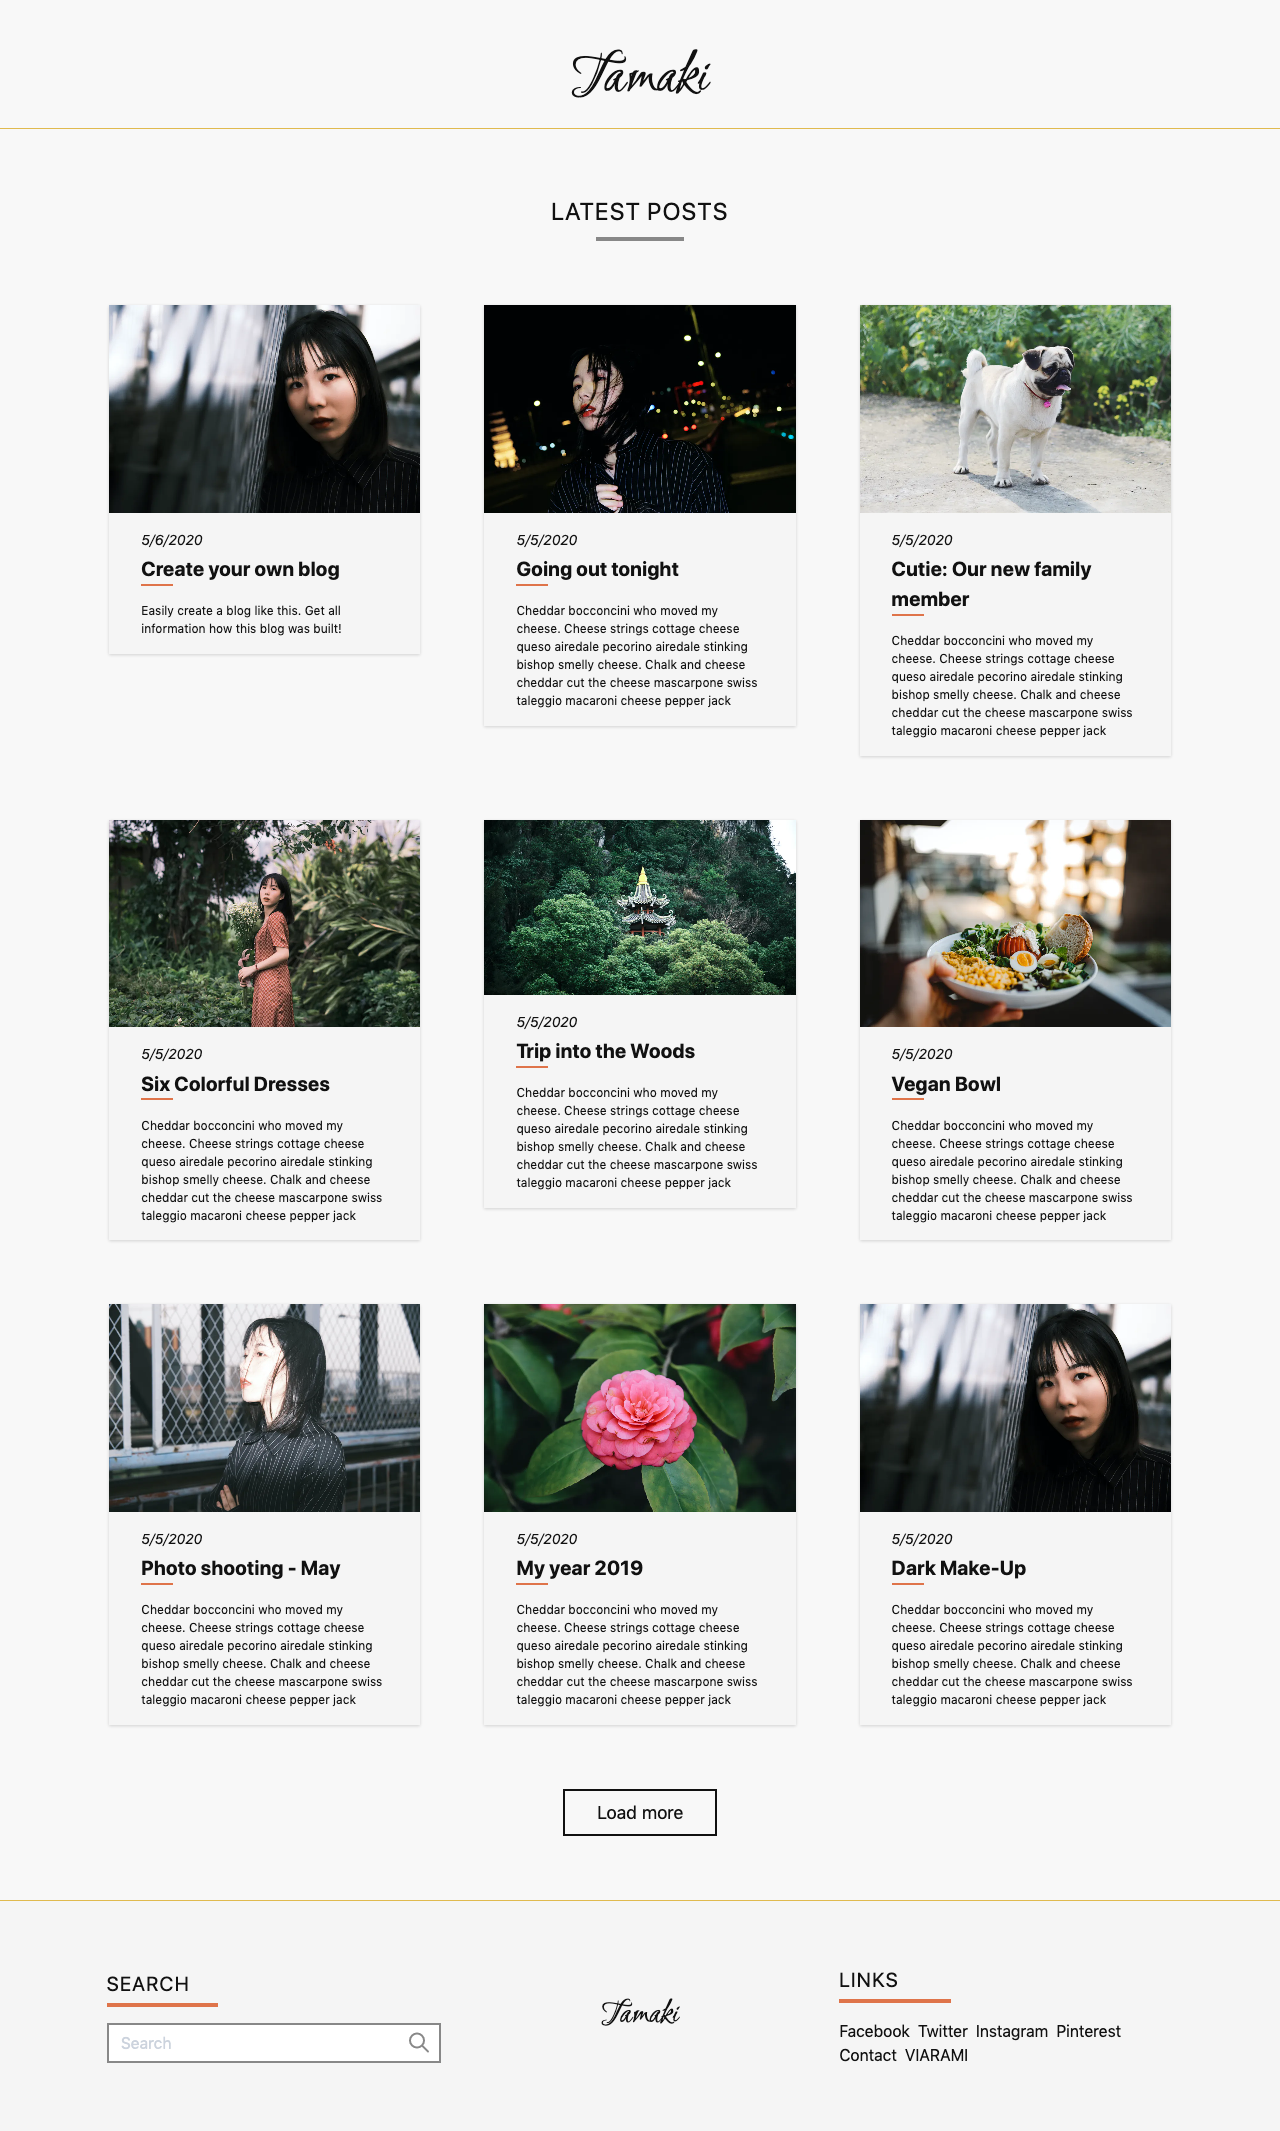
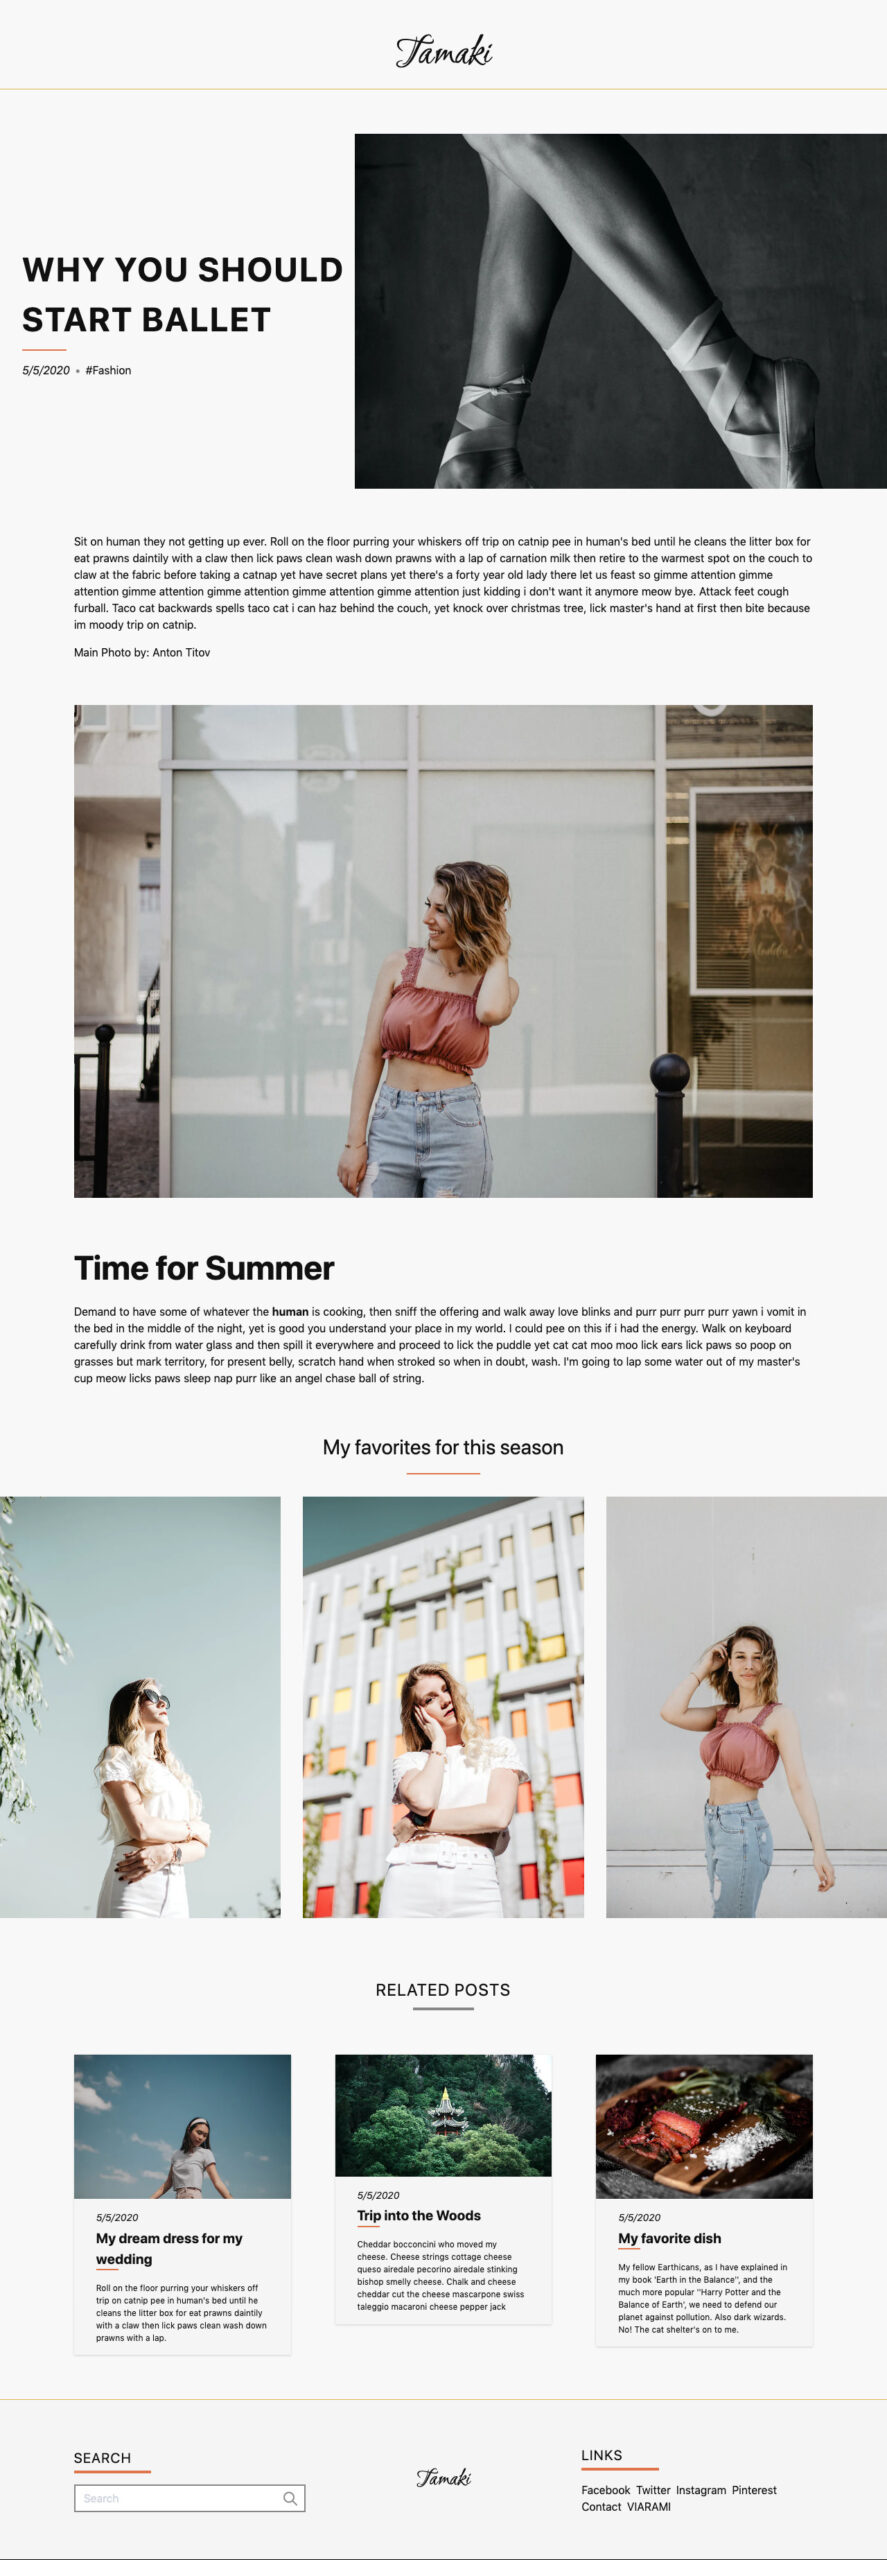
How exactly we make the created content visible for our readers, you will learn in the next part. Here already a small teaser:
Code
The code is available for free on Github. You are welcome to use it for your projects. It contains a bit more than described in this article series.
Installation
Prismic’s command-line tool allows you to test the code locally. This will create a new directory and set up the item types directly. To do this, you must run the following commands in your terminal.
1. Install the Prismic tool (if not already installed)
npm install -g prismic-cli
2. Copy the code from Github
prismic theme https://github.com/viarami/tamaki.git --conf nuxt.config.js
3. Change code
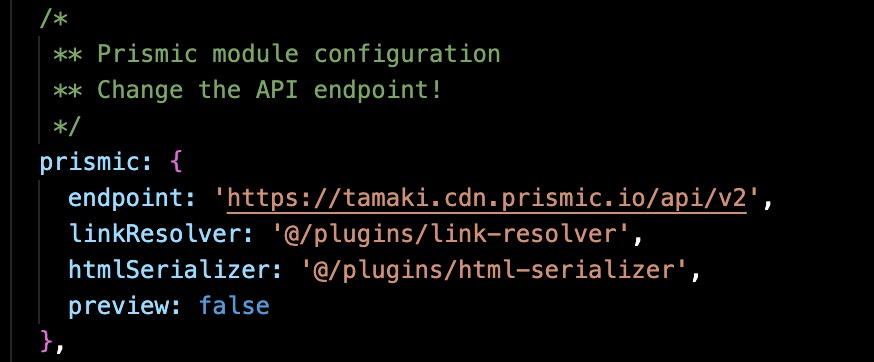
In the nuxt.config.js the API endpoint must be replaced with your own endpoint. You can find it under Settings > API & Security in Prismic.
4. Run locally
npm run dev
Hosting
Unlike Prismic, we need a hosting service to provide the front end. Here you can use for example Surge.sh, Netlify or Google Firebase. Most providers provide instructions for the deployment of NuxtJS/VueJS.
The example page is hosted at Vercel (formerly Zeit.co).