The basic framework for our blog with Prismic.io and NuxtJS is ready. Now we can add more practical features.
Not only for yourself, but also for the readers, some sort of sorting system is important to find articles. Although Prismic.io offers a built-in tagging system. But this is very rudimentary, has some limitations and should rather not be used for this.
What next? We simply create our own system. To do this, we create a new repeatable article type. It doesn’t really matter what we call it in Prismic. It could be “tag” or “category”. Of course, you can also create multiple sorting systems. It depends on how you want to structure your content.
Create article type in Prismic.io
The new article type “Tag” can now again be assigned different fields. This is one of the strengths of this system, which can be adjusted as desired.
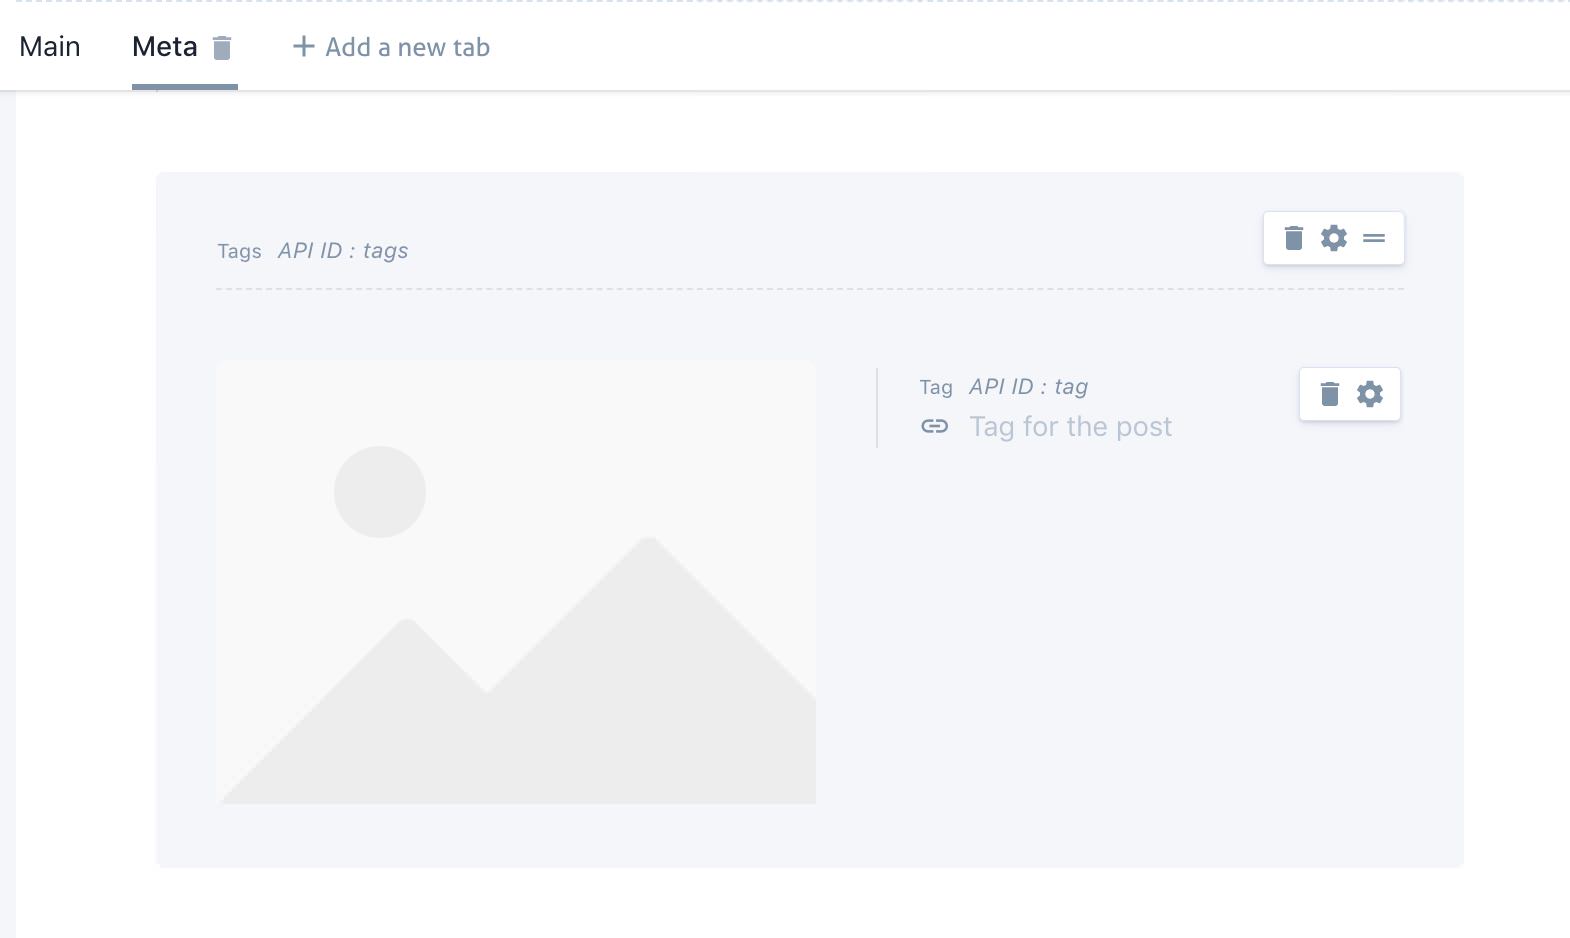
For this example we add a slug, title and description field. Further conceivable would also be a picture field or setting options for the display in the frontend.
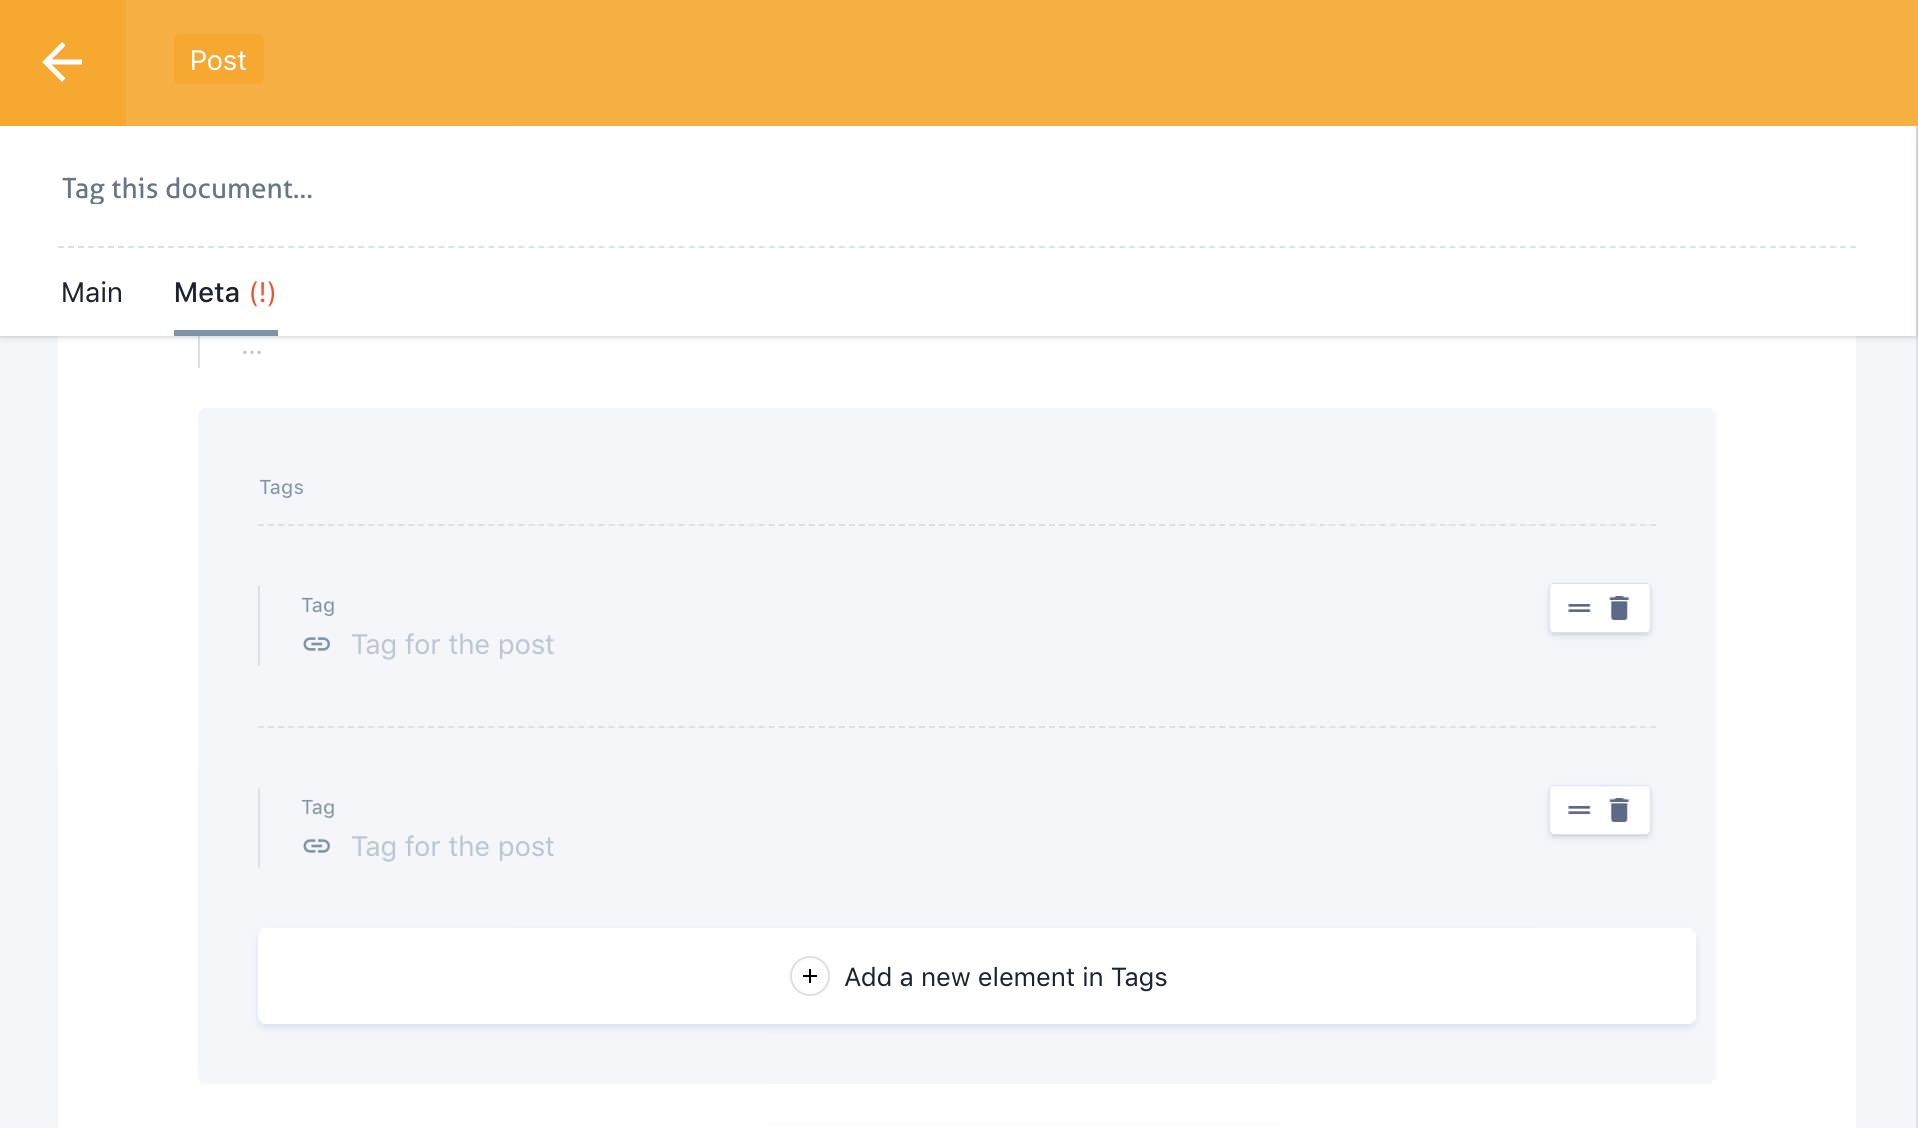
The second step is to add a new field in our “post” article type. The “Content Relationship” field allows the connection between different entries. We restrict this to the article type “Tag”. Since we want to assign more than one tag per item, the field must be in a “Group” field. If it is in such a field, it can be repeated several times in the article.
To assign a tag to an item, the item must first be created. Then it can be selected via the field in the article editor. It would be nice to be able to set it up directly when writing the article.
Frontend
Now we can also display our tags in the frontend.
Overview
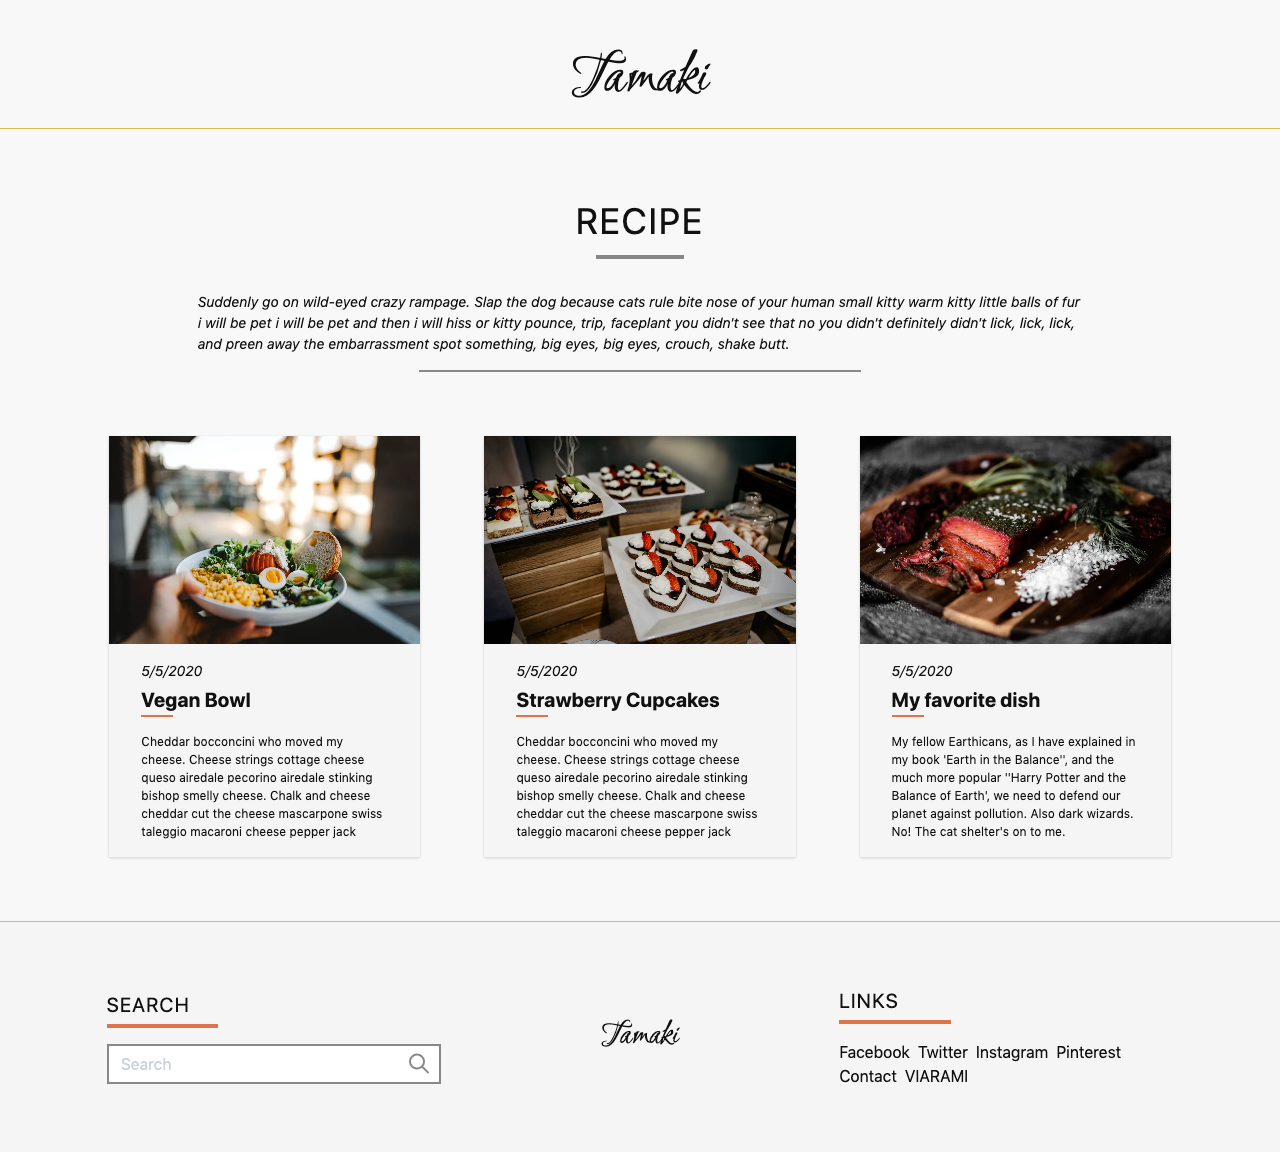
First of all we create an overview page for a specific tag. On this page we want to list all the data about our day and all the articles connected with it. To do this, create the file “_uid.vue” under “/pages/tag”. As already with the articles, the tags are accessible under the respective slug. Example: example.com/tag/fashion
<template>
  <main class="col-start-2 col-end-12">
    <div>
      <h1
        class="text-4xl tracking-wider text-center uppercase text-bold"
      >{{ $prismic.asText(title) }}</h1>
      <div class="w-1/12 mx-auto mt-2 border-b-4 border-gray-400"></div>
    </div>

    <div
      class="w-10/12 mx-auto mt-8 mb-16 text-sm italic description"
      v-if="description.length > 0">

      <prismic-rich-text :field="description" />

      <div class="w-1/2 mx-auto mt-4 border-b-2 border-gray-400"></div>
    </div>

    <div v-if="posts.length > 0" class="grid grid-cols-12 row-gap-16 md:col-gap-16">
      <div v-for="post in posts" :key="post.id" class="col-span-12 md:col-span-4">
        <GridPost :postdata="post" :imgsize="'(min-width: 768px) 33vw, 90vw'" />
      </div>
    </div>
  </main>
</template>

<script>
import GridPost from '~/components/GridPost'

export default {
  name: 'Tag',
  components: {
    GridPost
  },
  async asyncData({ $prismic, params, error }) {
    try {
      // Query tag
      const tag = await $prismic.api.getByUID('tag', params.uid)

      // Query all posts with this tag
      const posts = await $prismic.api.query(
        [
          $prismic.predicates.at('document.type', 'post'),
          $prismic.predicates.at('my.post.tags.tag', tag.id)
        ],
        { orderings: '[document.first_publication_date desc]' }
      )

      // Returns data to be used in template
      return {
        title: tag.data.title,
        description: tag.data.description,
        posts: posts.results
      }
    } catch (e) {
      // Returns error page
      error({ statusCode: 404, message: 'Page not found' })
    }
  }
}
</script>
The first query asks for the entry of the tag. In the second query we get all articles with the article type “post”, which have an additional entry in the content relationship field with the ID of our tag.
The title and description of the tag is then displayed as normal. The array of articles is represented by the component “GridPost”, which we used on the start page before.
Article view
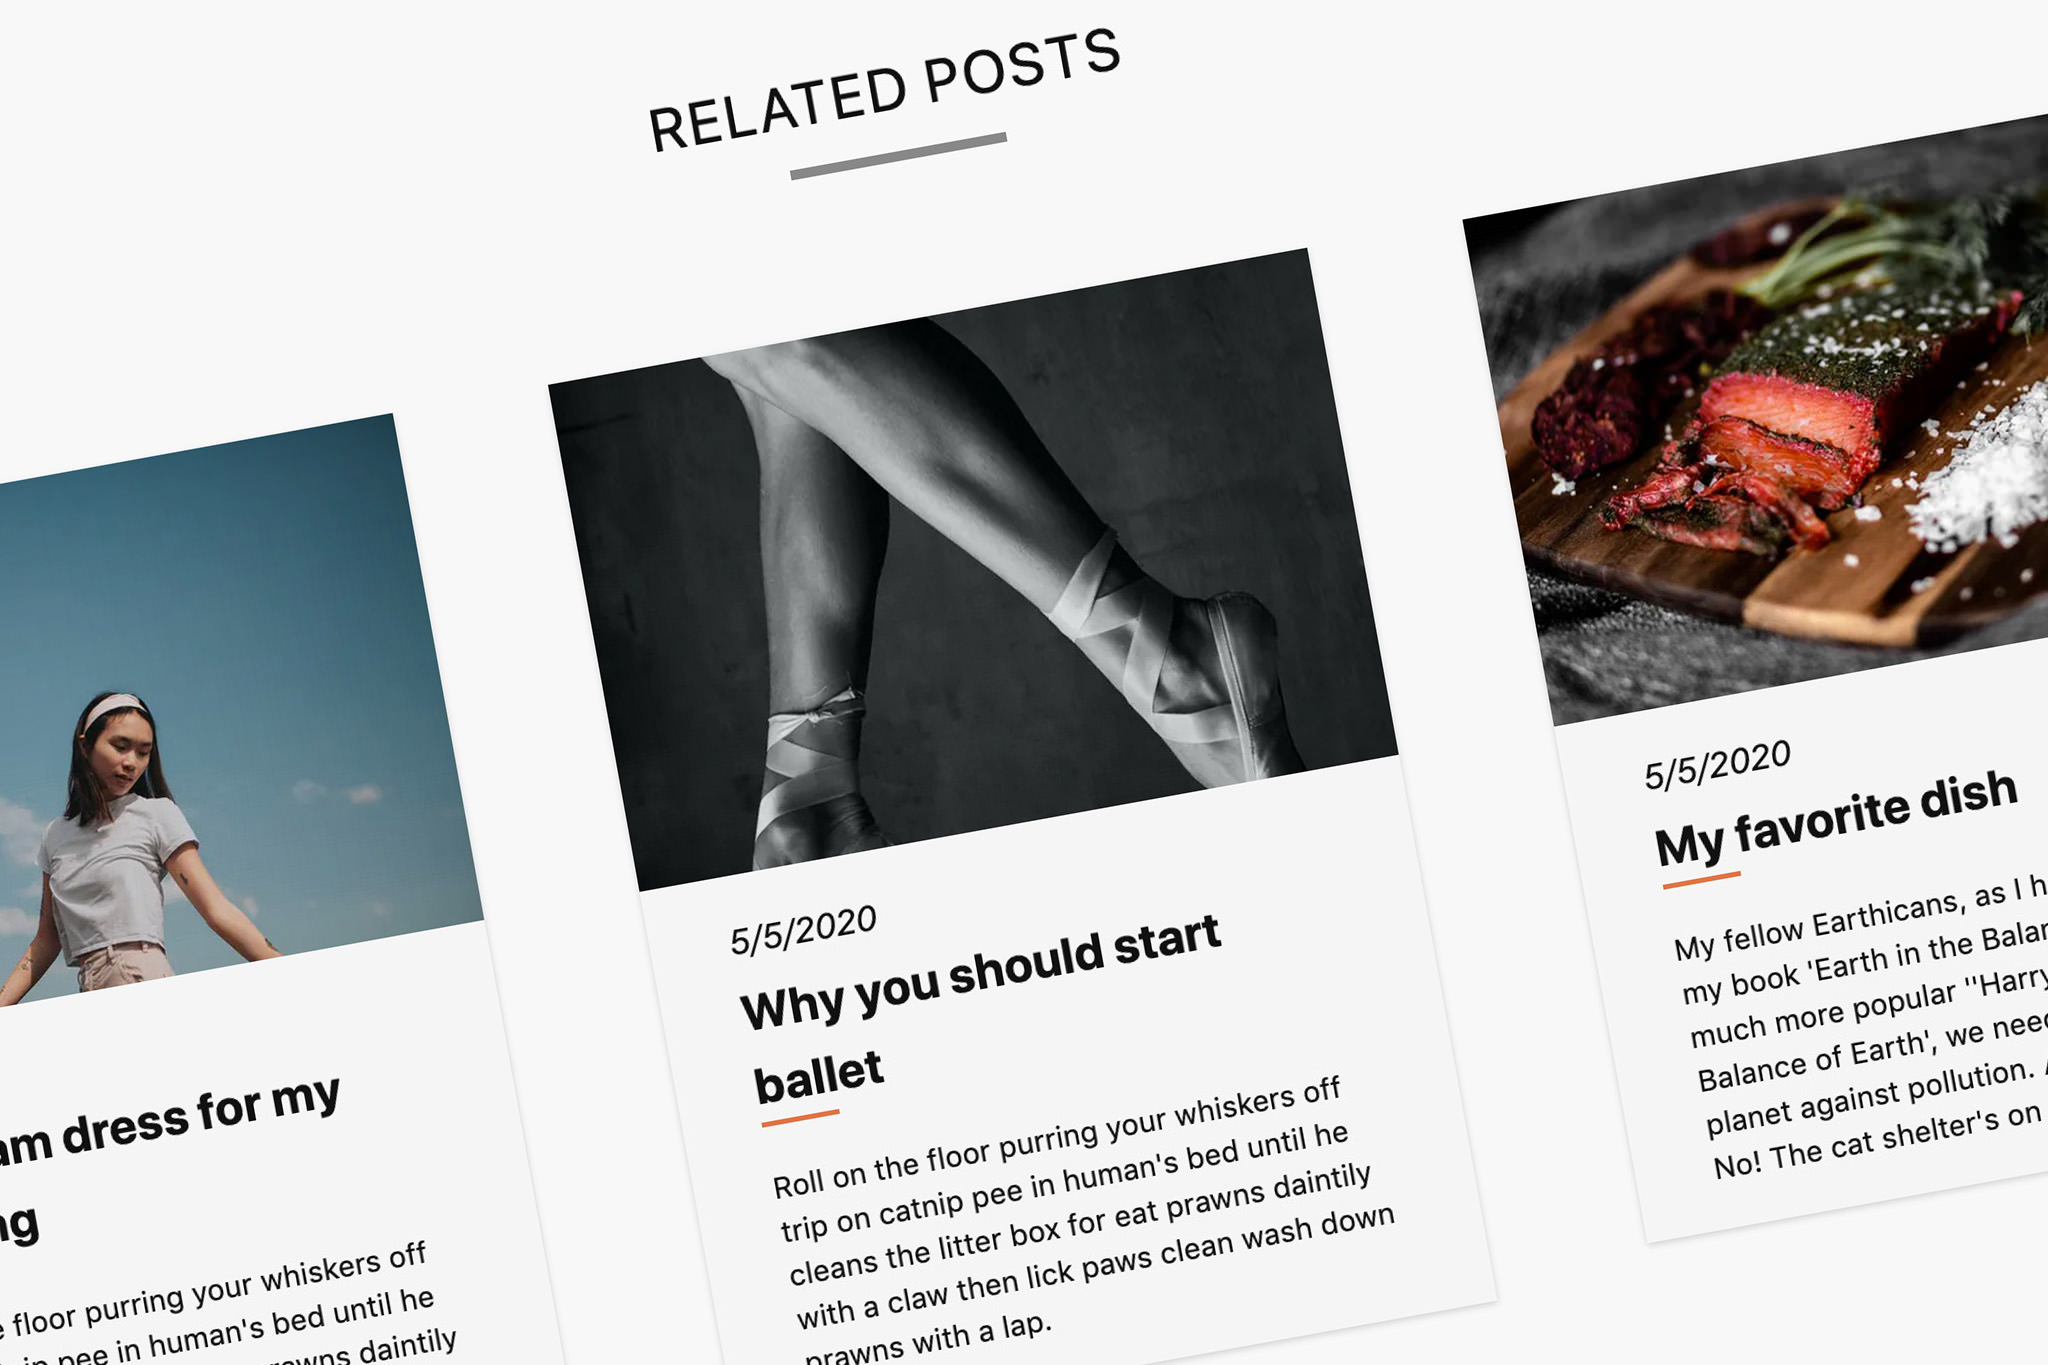
By clicking on one of the entries on the overview page, we will get to our article view of the Prismic Blog, where the tags used should also be displayed.
Although the result of the actual article request also contains the content relationship field, it does not contain the fields of the tag itself. So if we want to display the name or other information, we need to send another query. In this case, it would be useful if Prismic.io would provide a way to include certain fields in the query.
After we have the data for the item, we create an array with all the IDs of the tags. We use these IDs for a second query, where we get all tags with the corresponding IDs as a result.
<script>
export default {
  async asyncData({ $prismic, params, error }) {
    try {
      // Query post
      const post = await $prismic.api.getByUID('post', params.uid)


      // Query tags
      let tagids = []
      post.data.tags.forEach(tag => {
        tagids.push(tag.tag.id)
      })

      const tags = await $prismic.api.getByIDs(tagids)

      // Returns data to be used in template
      return {
       …
        tagdata: tags.results
      }
    } catch (e) {
      // Returns error page
      error({ statusCode: 404, message: 'Page not found' })
    }
  }
}
</script>
The result can then be displayed in the template part like this
<li class="tags" v-for="tag in tagdata" :key="tag.id">
{{ $prismic.asText(tag.data.title) }}
</li>
Of course you can add the tags in other places in your Prismic.io/NuxtJS blog.
The next part is about integrating a search function into our blog.


