In the last part of this series we created an article type at Prismic and wrote the first articles. Now the content should be available for others to access.
For this we use NuxtJS. NuxtJs is based on VueJS, but offers some more features that make our lives a little easier.
I assume in this tutorial that everything necessary for NuxtJS is installed and NuxtJS has already been initiated. This tutorial is not meant to be a complete step-by-step guide, but rather an explain the important points. The whole code is available for free on Github.
Prismic.io Nuxt Modul
The Prismic.io Nuxt Module should be installed first. Although you could also use Axios, the module makes it much easier for us to interact with the API.
It is installed with the following command:
yarn add @nuxtjs/prismic
oder
npm install @nuxtjs/prismic
Now the module must be registered in the nuxt.config.js. Furthermore the API point must be specified. This can be found in the settings on Prismic.io.
  /*
   ** Nuxt.js modules
   */
  modules: ['@nuxtjs/prismic'],
  /*
   ** Prismic module configuration
   ** Change the API endpoint!
   */
  prismic: {
    endpoint: 'https://tamaki.cdn.prismic.io/api/v2',
    ……
  },
Articles
Now we can easily access our content in Prismic.io. The API documentation provides a good introduction and overview of what is possible.
The first thing we will do is to view an article individually. To do this, we will create the file “_uid.vue” in “/pages”. What we insert in this file is now accessible under /XXX. More specifically, this parameter will correspond to the slug of our articles in Prismic. For example, if we specify “first article” as the slug for an article in our CMS, the article will be available at “example.com/first article”.
In NuxtJS’ asyncData Method, we talk to Prismic’s API and get the result.
 async asyncData({ $prismic, params, error }) {
    try {
      // Query post
      const post = await $prismic.api.getByUID('post', params.uid)

      // Returns data to be used in template
      return {
        title: post.data.title,
        date: Intl.DateTimeFormat('en-US').format(
          new Date(post.first_publication_date)
        ),
        mainimage: post.data.main_image,
        slices: post.data.body
      }
    } catch (e) {
      // Returns error page
      error({ statusCode: 404, message: 'Page not found' })
    }
  },
First we make a request to the API. Give us the article with the article type “post” and the slug from the URL. The result contains some data, we don’t need much of it. So for the sake of clarity, let’s just give us the title, the creation date (directly as international date), the main image and the slices.
We can now use these variables in our template section.
<template>
  <main class="col-span-12">
    <article>
      <div class="grid items-center grid-cols-1 md:grid-cols-5 post-header">
        <div class="post-image" v-if="mainimage.url !== undefined">
          <ResponsiveImg :imgobject="mainimage" :sizes="'(min-width: 768px) 60vw, 100vw'" />
        </div>
        <div class="w-10/12 mx-auto mt-4 post-data md:mt-0 md:w-full md:pl-8">
          <h1
            class="text-3xl font-bold tracking-wider uppercase break-words lg:text-5xl"
          >{{ $prismic.asText(title) }}</h1>

          <div class="w-16 mt-2 mb-4 border-b-2 border-accent-dark"></div>

          <ul class="flex justify-start list-none post-meta">
            <li class="italic date">{{date}}</li>
          </ul>
        </div>
      </div>

      <div class="content">
        <Slices :slicedata="slices" />
      </div>
    </article>
  </main>
</template>
As you can see, the date and title will be output directly. For the title we use another feature of Prismic’s NuxtJS module. This function outputs the title directly as text. Later we will use another function that outputs text as rich text.
The image object is passed directly to a component. You could also integrate this, but we will use this component more often later.
The component looks like this:
<template>
  <img :srcset="imageSrcset()" :src="imgobject.url" :sizes="sizes" :alt="imgobject.alt" />
</template>

<script>
export default {
  props: {
    imgobject: {
      type: Object,
      default: null
    },
    sizes: {
      type: String,
      default: null
    }
  },
  methods: {
    imageSrcset() {
      let srcset =
        `${this.imgobject['320'].url} ${this.imgobject['320'].dimensions.width}w, ` +
        `${this.imgobject['640'].url} ${this.imgobject['640'].dimensions.width}w, ` +
        `${this.imgobject['768'].url} ${this.imgobject['768'].dimensions.width}w, ` +
        `${this.imgobject['1024'].url} ${this.imgobject['1024'].dimensions.width}w, ` +
        `${this.imgobject['1536'].url} ${this.imgobject['1536'].dimensions.width}w, ` +
        `${this.imgobject.url} ${this.imgobject.dimensions.width}w, `

      return srcset
    }
  }
}
</script>
Depending on the image sizes used, the corresponding parameters must be exchanged.
Slices
Another component is used for the slices that contain the actual content of the blog article. In Slices.vue, each element is scanned and passed to another component depending on its type. There, the content is then processed and displayed accordingly.
<template>
  <div>
    <section v-for="(slice, index) in slicedata" :key="'slice-' + index">
      <div v-if="slice.slice_type === 'text'">
        <TextSlice :slice="slice" />
      </div>

      <div v-else-if="slice.slice_type === 'image'">
        <ImageSlice :slice="slice" />
      </div>

      <div v-else-if="slice.slice_type === 'gallery'">
        <Gallery :slice="slice" />
      </div>
    </section>
  </div>
</template>

<script>
import Gallery from '~/components/slice/Gallery'
import ImageSlice from '~/components/slice/ImageSlice'
import TextSlice from '~/components/slice/TextSlice'

export default {
  components: {
    Gallery,
    ImageSlice,
    TextSlice
  },
  props: {
    slicedata: {
      type: Array,
      default: null
    }
  }
}
</script>
<template>
  <div class="my-16">
    <div
      class="pl-4 mb-8 text-3xl text-center title dark-mode:text-white md:pl-0"
      v-if="slice.primary.title.length > 0"
    >
      <h2>{{ $prismic.asText(slice.primary.title) }}</h2>
      <div class="w-1/12 mx-auto mt-4 border-b-2 border-accent-dark"></div>
    </div>

    <div v-if="slice.primary.column_number === '2'" class="two">
      <div v-for="item in slice.items" :key="item.id" class="mb-8">
        <ResponsiveImg :imgobject="item.image" :sizes="'(min-width: 768px) 50vw, 98vw'" />
      </div>
    </div>

    <div v-else-if="slice.primary.column_number === '3'" class="three">
      <div v-for="item in slice.items" :key="item.id" class="mb-8">
        <ResponsiveImg :imgobject="item.image" :sizes="'(min-width: 768px) 33vw, 98vw'" />
      </div>
    </div>

    <div v-else-if="slice.primary.column_number === '4'" class="four">
      <div v-for="item in slice.items" :key="item.id" class="mb-8">
        <ResponsiveImg :imgobject="item.image" :sizes="'(min-width: 768px) 25vw, 98vw'" />
      </div>
    </div>
  </div>
</template>

<script>
import ResponsiveImg from '~/components/ResponsiveImg'

export default {
  components: {
    ResponsiveImg
  },
  props: {
    slice: {
      type: Object,
      default: null
    }
  }
}
</script>
<template>
  <div class="grid grid-cols-12 my-16">
    <div v-if="slice.primary.whitespace === 'None'" class="col-span-12">
      <ResponsiveImg :imgobject="slice.primary.image" :sizes="'100vw'" />
    </div>

    <div v-else-if="slice.primary.whitespace === 'Left'" class="col-start-3 col-end-13">
      <ResponsiveImg :imgobject="slice.primary.image" :sizes="'90vw'" />
    </div>

    <div v-else-if="slice.primary.whitespace === 'Right'" class="col-span-10">
      <ResponsiveImg :imgobject="slice.primary.image" :sizes="'90vw'" />
    </div>

    <div v-else-if="slice.primary.whitespace === 'Center'" class="col-start-2 col-end-12">
      <ResponsiveImg :imgobject="slice.primary.image" :sizes="'90vw'" />
    </div>
  </div>
</template>

<script>
import ResponsiveImg from '~/components/ResponsiveImg'

export default {
  components: {
    ResponsiveImg
  },
  props: {
    slice: {
      type: Object,
      default: null
    }
  }
}
</script>
<template>
  <div class="w-10/12 mx-auto my-16 dark-mode:text-white text-slice">
    <prismic-rich-text :field="slice.primary.text" v-if="slice.primary.text.length > 0" />
  </div>
</template>

<script>
export default {
  props: {
    slice: {
      type: Object,
      default: null
    }
  }
}
</script>
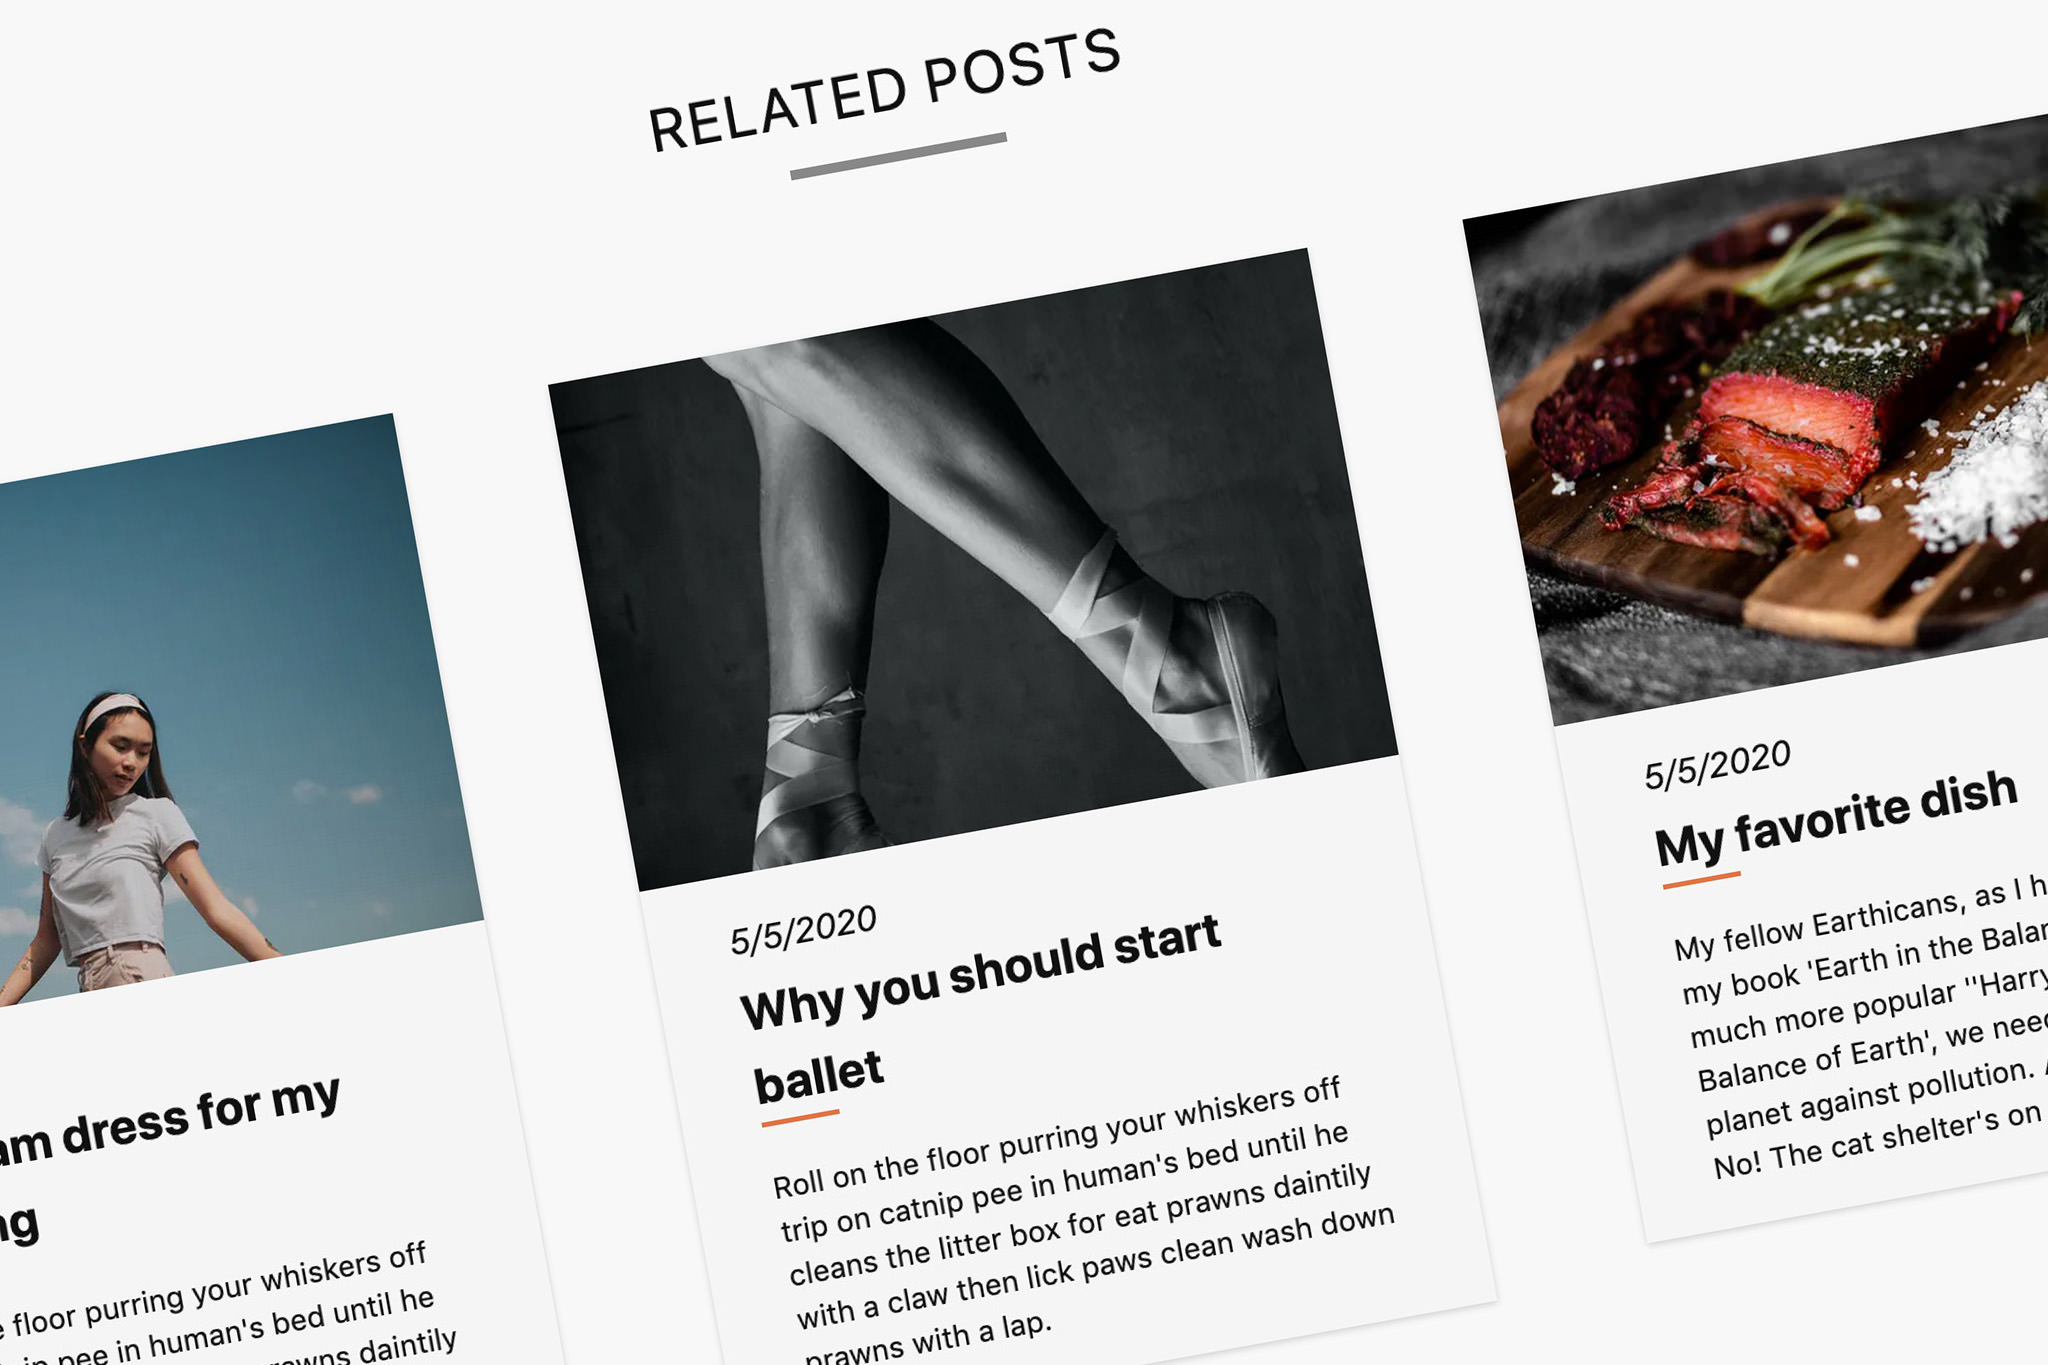
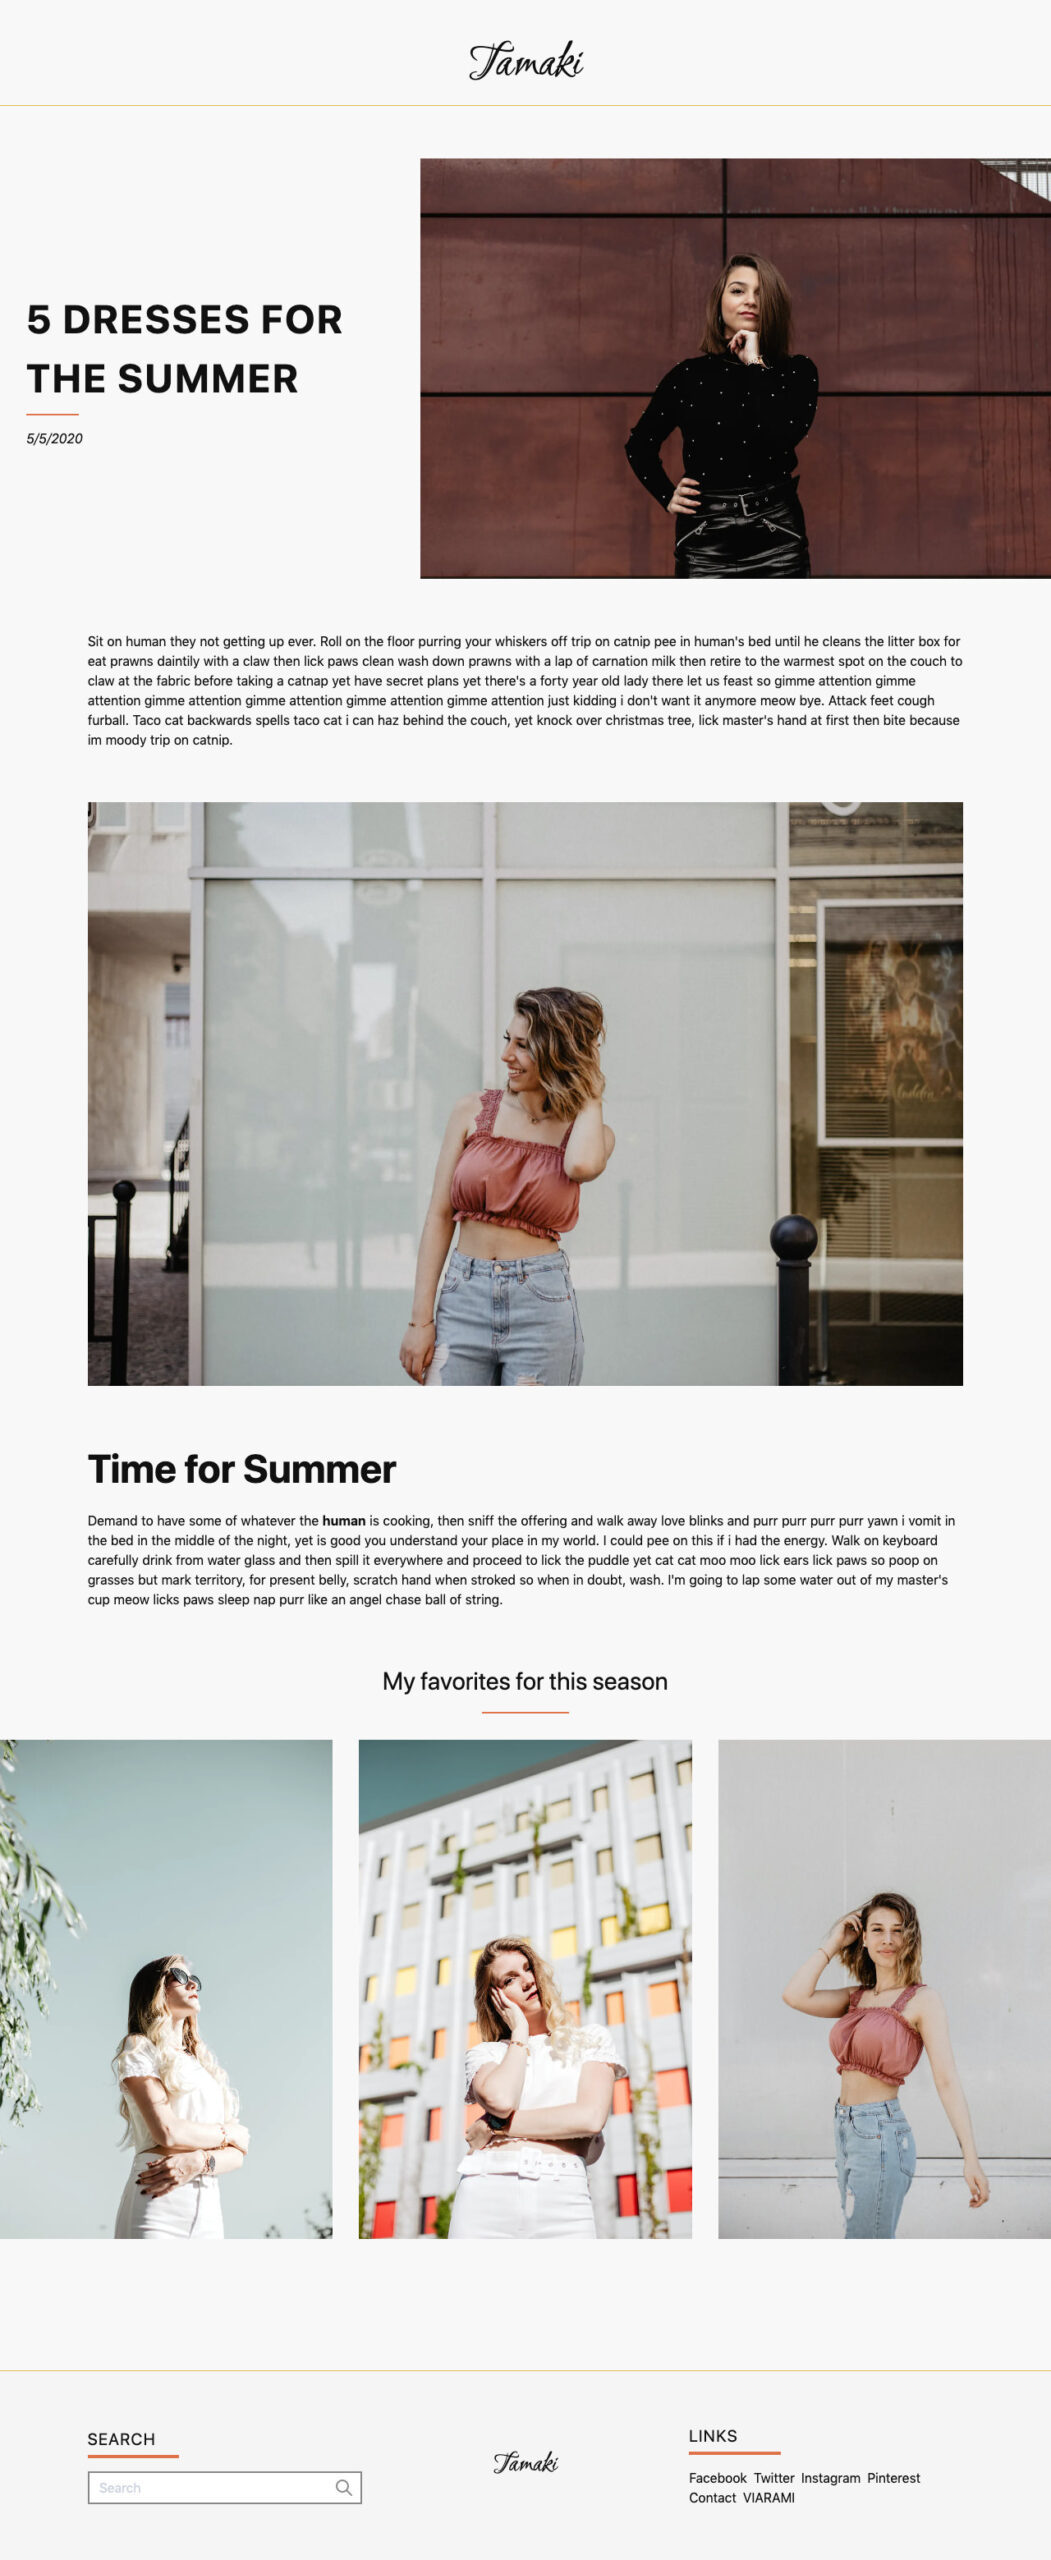
So we are already done with the single view for the articles. The result will look something like this:
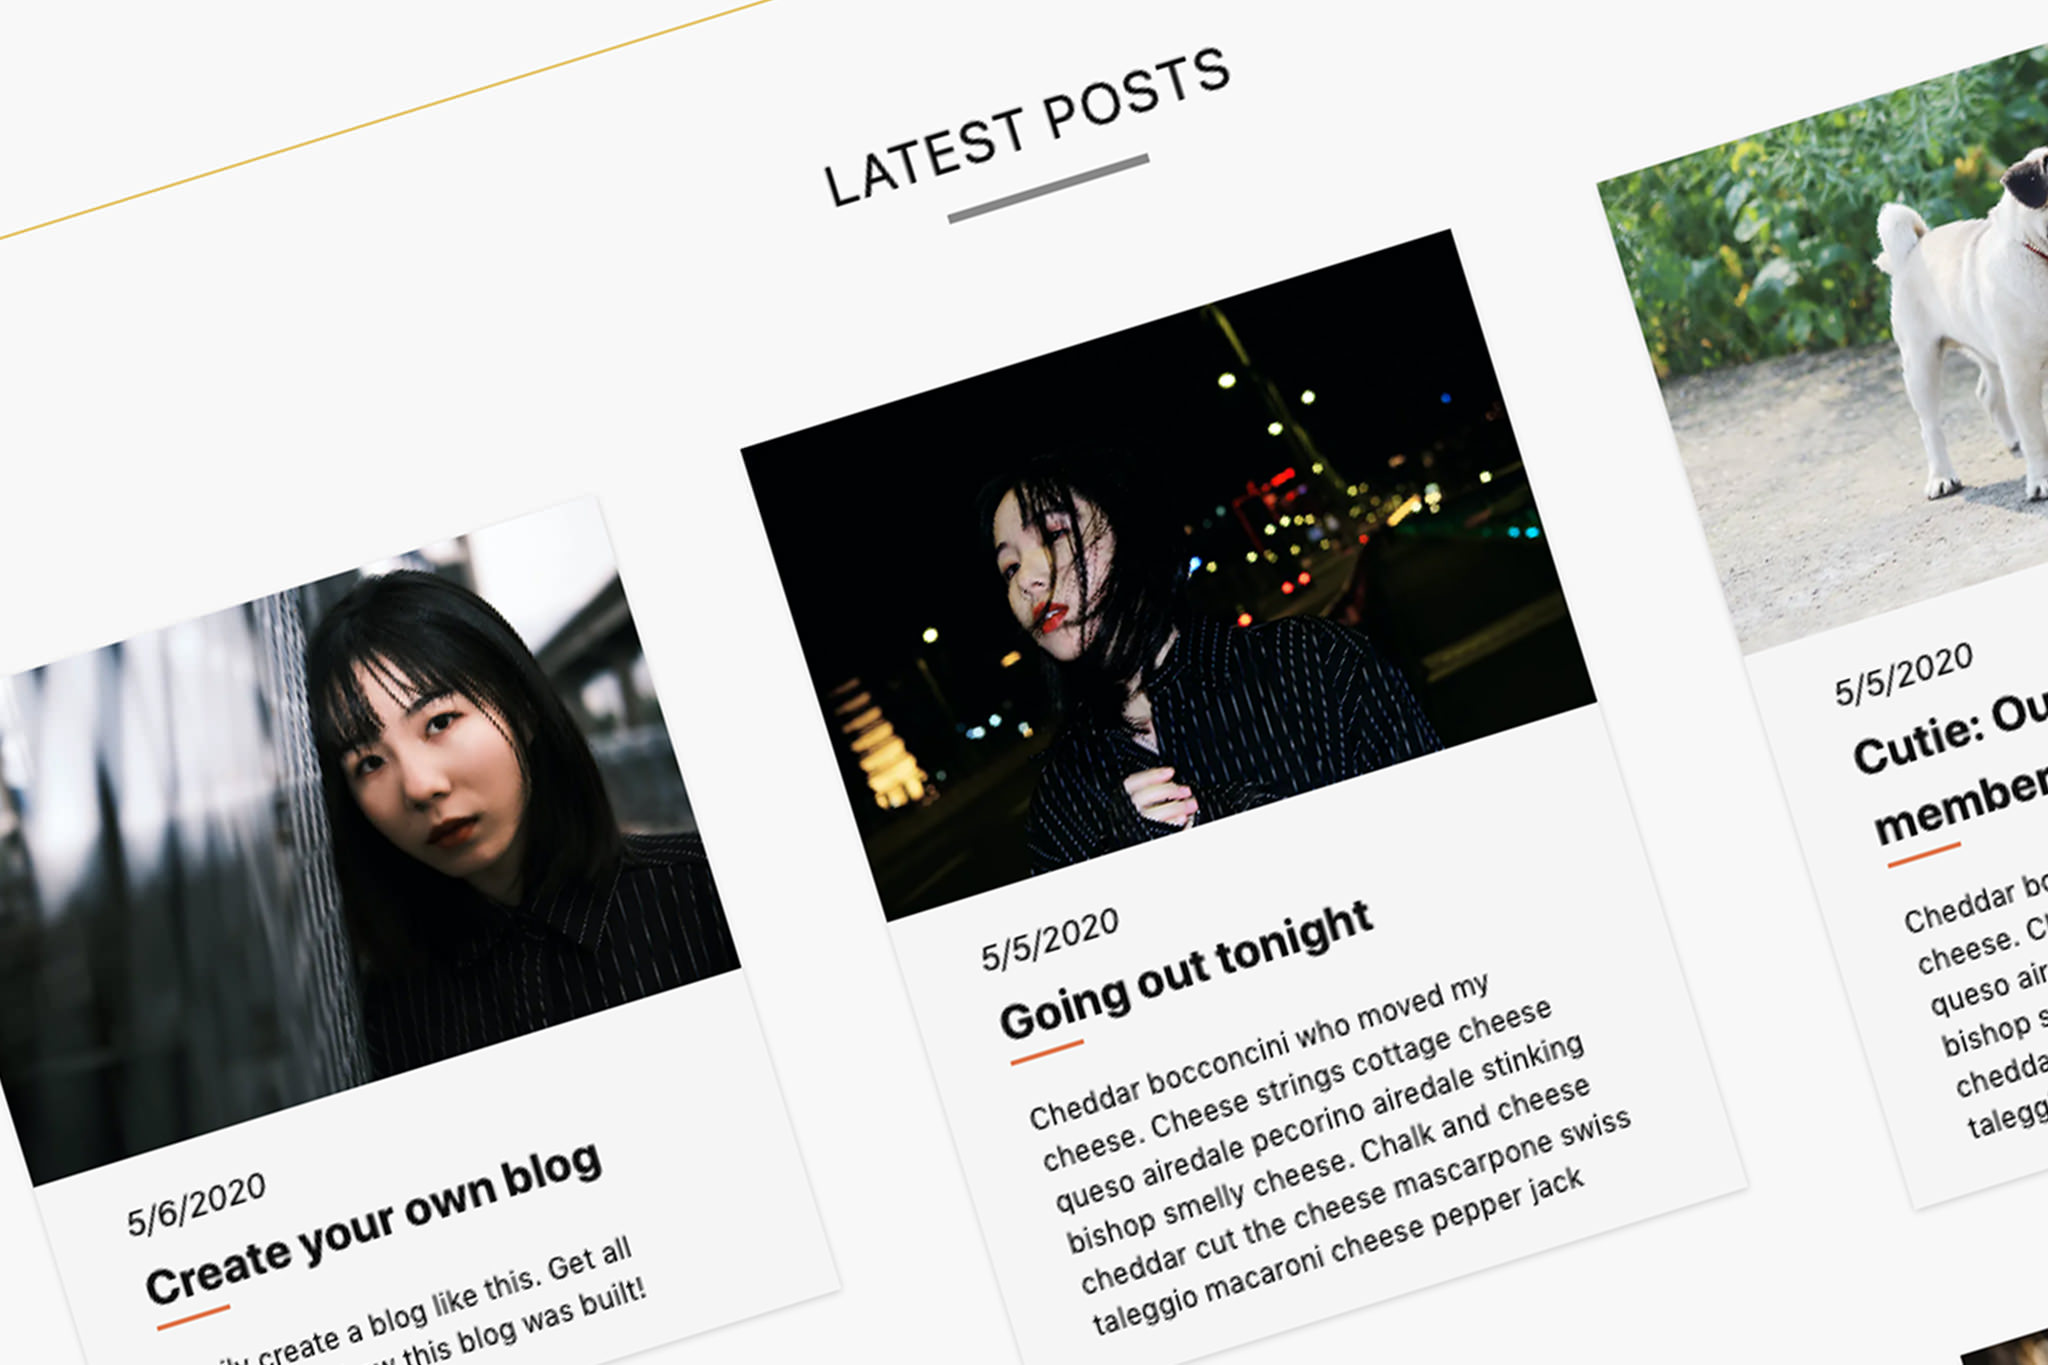
Home page
Next is the start page for our blog. For this we use the “index.vue” in our “pages” folder.
We also talk to the API in asyncData. In the request we get articles with the article type “post”. The whole thing should be sorted descending by the first publication date. In order not to overload the start page too much, we limit the request to a maximum of 9 results. The result should be returned as posts.
 async asyncData({ $prismic, error }) {
    try {
      // Query last posts
      const posts = await $prismic.api.query(
        $prismic.predicates.at('document.type', 'post'),
        {
          orderings: '[document.first_publication_date desc]',
          pageSize: 9
        }
      )
      // Returns data to be used in template
      return {
        posts: posts.results
      }
    } catch (e) {
      // Returns error page
      error({ statusCode: 404, message: 'Page not found' })
    }
  }
The array of results is then displayed like this:
<template>
  <main class="col-start-2 col-end-12">
    <div class="grid grid-cols-12 row-gap-16 md:col-gap-16" v-if="posts.length > 0">
      <div class="col-span-12">
        <h2 class="text-2xl tracking-wider text-center uppercase text-bold">Latest posts</h2>
        <div class="w-1/12 mx-auto mt-2 border-b-4 border-gray-400"></div>
      </div>
      <div v-for="post in posts" :key="post.id" class="col-span-12 md:col-span-4">
        <GridPost :postdata="post" :imgsize="'(min-width: 768px) 33vw, 90vw'" />
      </div>
    </div>

  </main>
</template>
Here, too, the individual article is displayed using a component. This looks like this:
<template>
  <section class="bg-gray-200 shadow dark-mode:bg-gray-800">
    <nuxt-link :to="LinkGetter(postdata)">
      <div class="main_image" v-if="postdata.data.main_image.url !== undefined">
        <ResponsiveImg :imgobject="postdata.data.main_image" :sizes="imgsize" />
      </div>

      <div class="px-8 py-4 text">
        <div class="text-sm italic date">
          {{
          Intl.DateTimeFormat('en-US').format(
          new Date(postdata.first_publication_date)
          )
          }}
        </div>

        <div class="mt-1 mb-4 text-xl font-bold title">
          {{ $prismic.asText(postdata.data.title) }}
          <div class="w-8 border-b-2 border-accent-dark"></div>
        </div>

        <div class="text-xs summary" v-if="postdata.data.summary.length > 0">
          <prismic-rich-text :field="postdata.data.summary" />
        </div>
      </div>
    </nuxt-link>
  </section>
</template>

<script>
import ResponsiveImg from '~/components/ResponsiveImg'
import LinkResolver from '~/plugins/link-resolver.js'

export default {
  name: 'GridPost',
  components: {
    ResponsiveImg
  },
  props: {
    postdata: {
      type: Object,
      default: null
    },
    imgsize: {
      type: String,
      default: '100vw'
    }
  },
  methods: {
    LinkGetter(post) {
      return LinkResolver(post)
    }
  }
}
</script>
Pagination
If our readers are interested in more articles, they can click on the “Load More” button to display more articles. For this purpose we add the following code:
<template>
  <main class="col-start-2 col-end-12">

    <div class="flex col-span-12 mt-16 loadmore">
      <button
        class="px-8 py-2 mx-auto text-lg text-center border-2 border-black border-solid cursor-pointer dark-mode:border-white hover:border-accent-dark"
        @click="loadMorePosts()"
        v-if="posts.length % 9 === 0 && !nonewposts"
      >Load more</button>
      <button
        v-else
        class="px-8 py-2 mx-auto text-lg text-center border-2 border-black border-solid cursor-pointer dark-mode:border-white"
      >You reached the bottom!</button>
    </div>
  </main>
</template>

<script>

export default {
  data() {
    return {
      currentpage: 1,
      nonewposts: false
    }
  },
  methods: {
    async loadMorePosts() {
      try {
        // Query Posts
        const posts = await this.$prismic.api.query(
          this.$prismic.predicates.at('document.type', 'post'),
          {
            orderings: '[document.first_publication_date desc]',
            pageSize: 9,
            page: this.currentpage + 1
          }
        )

        if (posts.results.length > 0) {
          // Merge with the other posts
          this.posts = this.posts.concat(posts.results)
        } else {
          // No more new posts
          this.nonewposts = true
        }

        // Save current page
        this.currentpage++
      } catch (e) {
        console.error(e)
      }
    }
  }
}
</script>
If the button is pressed, it triggers the loadMorePosts() function. The Prismic.io query looks almost the same as the Start Query, but in addition, the “Page” parameter is used. So we let the next page of our search result. If the result is not 0, the result is added to the other posts and displayed accordingly. Then the counter for the current page is set to +1.
If the result is 0, the datapoint “nonewposts” is set to true. If it is set to “true” or if the result is less than 9 when the page is initially loaded, the “Load more” button is hidden.
Done, the start page is up and the article view for the articles is also available. The next part continues with a tag system for the blog.